CLOSED June 29 - July 9 ~ All order received during this time period will ship July 10th
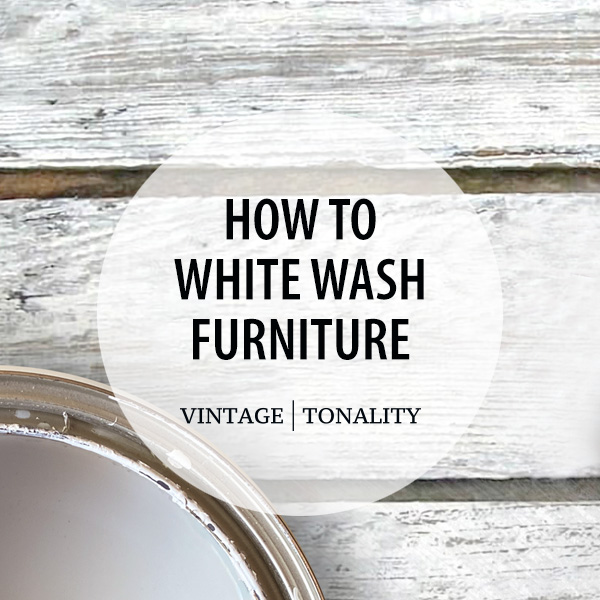
White Wash Furniture chalk painting techniques
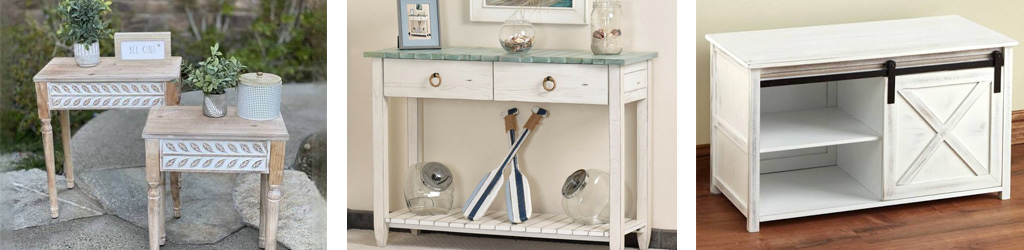
White Wash Furniture - Chalk Painting Techniques for Beginners
Whitewashing with chalk paint is a great way to create a fresh, rustic look that will make your furniture piece stand out. Not only is chalk paint easy to work with and forgiving of mistakes, but it also allows you to achieve a range of different effects depending on your technique.
Whitewashing with chalk paint is a great way to create a fresh, rustic look that will make your furniture piece stand out. Not only is chalk paint easy to work with and forgiving of mistakes, but it also allows you to achieve a range of different effects depending on your technique.
Materials needed:
- Plastic container / mixing cup
- Protective drop cloth or old sheet
- Clean cloth or tack cloth
- Screwdriver + putty knife
Step 1: Pick Your Piece
Before you start painting, choose a piece of furniture or accessory that needs a little TLC. It should be unfinished or sanded to remove any existing finish and free of dust and debris. Remember, we're not here to cover up the wood grain, but to enhance it.
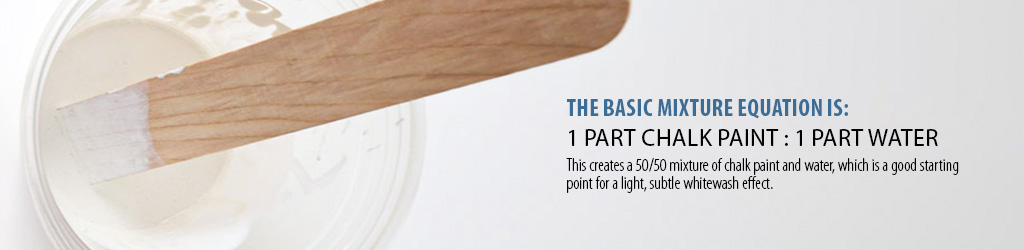
Step 2: Mix Up Your Chalk Paint
The whitewash mixture for chalk paint and water can vary depending on the desired effect and the type of chalk paint you're using. As a general guideline, you can mix equal parts of chalk paint and water (50:50) to create a thin consistency for a light, subtle whitewash effect.
Do your mixing in a separate container (plastic cup or bowl). It's best to stir the mixture with a disposable spoon or a stir stick rather than a brush. Make sure that the container is large enough to hold the amount of mixture you need and that it's made of a durable material that won't break or crack during the mixing process.
If you want a more opaque or pronounced effect, you can use less water or apply multiple coats of the whitewash mixture until you achieve the desired result. It's always a good idea to test your whitewash mixture on a small, inconspicuous area first before applying it to the entire piece of furniture. This will give you a better idea of the coverage and appearance of the whitewash and allow you to adjust the mixture as needed
Step 3: Apply the Whitewash
Use your brush or a cloth to apply the whitewash mixture to the surface, working in the direction of the wood grain, in long, even strokes. Work in small sections, making sure to cover the entire area evenly. Be careful not overload the brush, or you'll risk a drippy mess or to apply too much pressure, as this can cause the mixture to streak.
WATCH DEMONSTRATION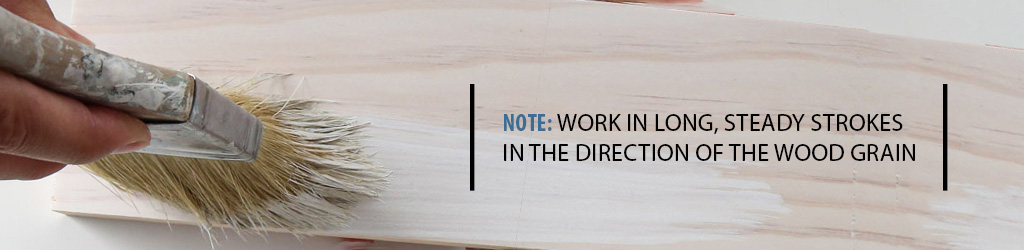
Step 4: Wipe away excess
After applying the whitewash, use a clean cloth to wipe away any excess or drips. Make sure to work in the direction of the grain or texture of the surface. This will help to create a more natural and blended look. If you notice any streaks or lines from your brush or cloth, use a dry brush or a cloth to blend them in.
Step 5: Repeat if necessary
Repeat steps 4 and 5 depending on the desired effect, as you may need to apply additional coats of the whitewash mixture. Allow each coat to dry completely before applying the next.
Step 6: Distress the Finish (Optional)
If you want your piece to look like it's been around the block a few times, now is your chance to distress it. Grab some sandpaper or a foam sanding pad and focus on areas that would naturally see wear and tear, like corners and edges. Now, your furniture will have that perfectly worn-in look.
Check out our recent article: How to Distress Furniture ~ Comprehensive Step-by-Step Guide
Step 7: Apply a Clear Wax
To protect your new whitewashed finish, apply a clear wax over the top. It'll also bring out the wood grain's natural color and depth. Make sure to follow the manufacturer's instructions for applying the wax and use a clean cloth to buff it to a smooth, even sheen.
Step 6: Admire Your Handiwork
Now that you've transformed your wooden piece into a stunning work of art, it's time to sit back and admire your handiwork. You've given new life to something old, and that's something to be proud of. So, pour yourself a drink, kick back, and bask in the beauty of your newly whitewashed piece.
Conclusion:
By following these steps, you can achieve a beautiful whitewash effect with chalk paint that will add character and charm to your furniture or decor. Remember, the key to success is to have fun and let your creativity flow. Don't be afraid to experiment with different colors and techniques to create a truly unique look.
Happy painting!![]()


More: Articles + Guides
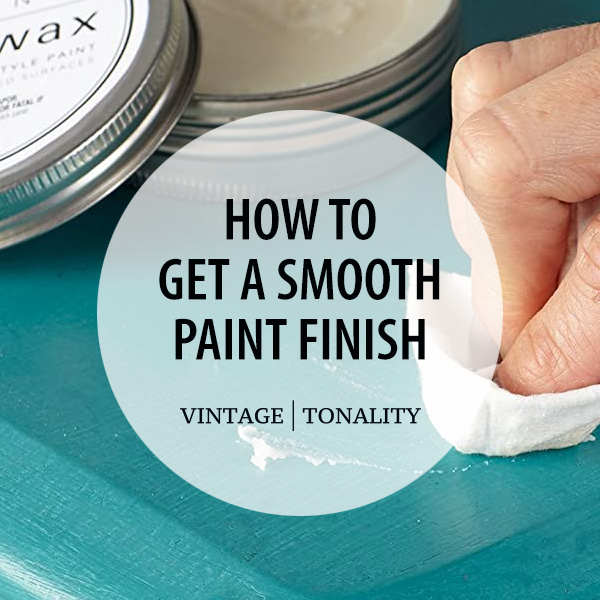
How to: Smooth Chalk Paint Finish If you love the look of chalk painted furniture, but want a smoother, more modern finish with minimal brush strokes.

Chalk Painting 101: For Beginners Chalk painting tips for beginners that will help you better understanding the process of painting furniture.

How to: Chalk Paint Recipe For those who appreciate the vintage, soft, matte look and feel of chalk paint, but don’t love the price.
How to: Make Your Own Soft Wax Make your own custom DIY clear wax for less than 80% of the price of well known brands, using non-toxic ingredients.
How to: Care For Your Brushes Your natural bristle brushes are an investment and you want to learn how to properly care for them.

Prep, Clean & Maintain Your Brushes This exclusive ebook guide is available to customers who have purchased one of our brushes. Includes bonus Tips & Tricks.
Distress Furniture With Chalk Paint In this comprehensive guide, we'll walk you through the process of distressing furniture with chalk paint, from start to finish.
Priming Before Chalk Painting Understanding the pros and cons of priming before chalk painting furniture and understanding bleed-through solutions.

Clean Chalk Paint Brushes How to properly clean chalk paint brushes after each use to maintain their quality and prolong their lifespan.


© 2015 - 2026 Vintage | Tonality® - All rights reserved. Any unauthorized use, such as distributing, copying, modifying, or reprinting, is not permitted.
Site content protected by: Digital Millennium Copyright Act
/ also found at these great locations /


© 2026 All rights reserved. Vintage Tonality® is a registered trademark in the US & UK.
![]()
Vintage | Tonality Brand
AFFILIATES | RESELLERS | AMBASSADORS