FREE SAME DAY SHIPPING ~ Orders place Mon-Fri ~ before 2 PM (PST)
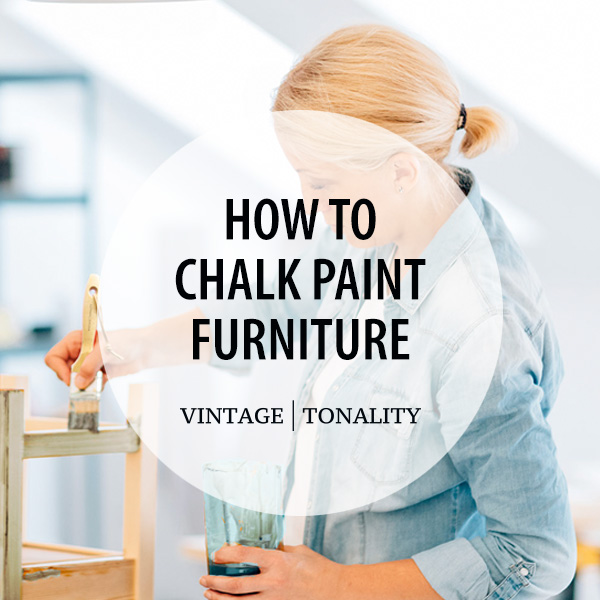
Chalk paint is a popular option for distressing furniture because of its versatility and ability to transform pieces with ease.

Whether you're looking to revamp a dated piece or simply want to add some character to your décor, distressing furniture with chalk paint is an easy and affordable way to achieve the desired look. In this comprehensive guide, we'll walk you through the process of distressing furniture with chalk paint, from start to finish.
Before you begin the distressing process, it's important to prepare your furniture properly. Clean the surface of the piece thoroughly and make any necessary repairs. Sand the surface lightly to remove any rough spots or bumps, but be careful not to sand too much or you could compromise the integrity of the surface material. If you are painting a piece of furniture that has already been painted or stained, you may need to prime it first to ensure that the chalk paint adheres properly.
Supplies.
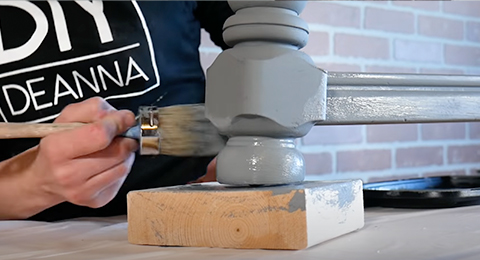
Now it's time to start painting. Choose a high-quality chalk paint that is appropriate for the type of furniture you're working on. If you're working on a large piece of furniture, consider purchasing a quart of paint to ensure that you have enough to complete the project. Apply the paint evenly and in thin, even coats. Be sure to allow each coat to dry completely before applying the next. Depending on the type of chalk paint you choose, you may need to apply 2-3 coats to achieve the desired coverage.
Supplies.
Once the final coat of chalk paint has dried, it's time to start distressing. There are a few different methods for distressing furniture, so choose the one that works best for your piece and your personal style. Here are a few popular options: Dry Distress, Wet Distress, Wax Distress (Resist Technique)
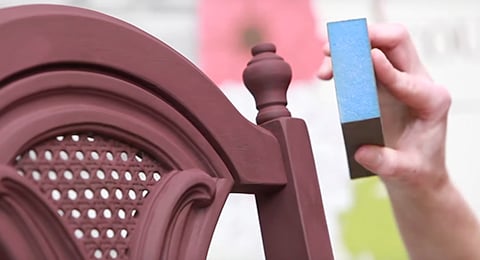
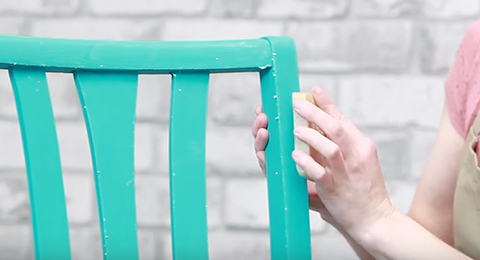
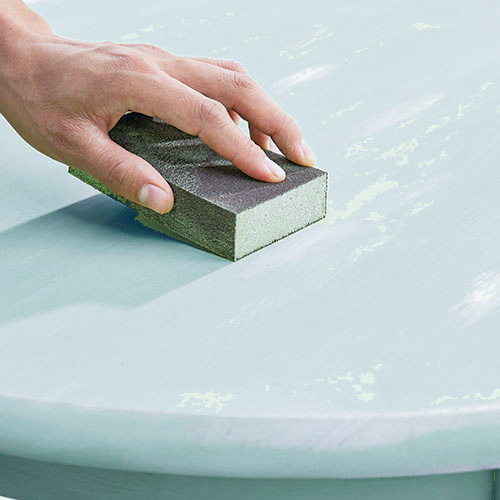
Dry distressing is a popular technique used to give furniture a vintage or shabby chic look. The idea is to create an illusion of wear and tear by removing some of the paint to reveal the underlayer or wood grain. This technique is often used on furniture that has been painted with chalk paint, which has a matte, velvety finish that makes it ideal for distressing.
Overview. Using a medium (150) to fine (220) grit sand paper or sanding block, apply light pressure to the surface area. You can always go back and distressed those areas with more sanding as needed. You’ll want to hit those edges, corners and high spots that would naturally be affected from normal use to achieve the aged look. If you do happen to make a mistake you can easily touch up the area with more paint.
Supplies.
Steps.
Note.
It's important to be gentle and avoid over-distressing the piece, as this can make it look too rough or fake. Start with a light touch and add more distressing as needed.
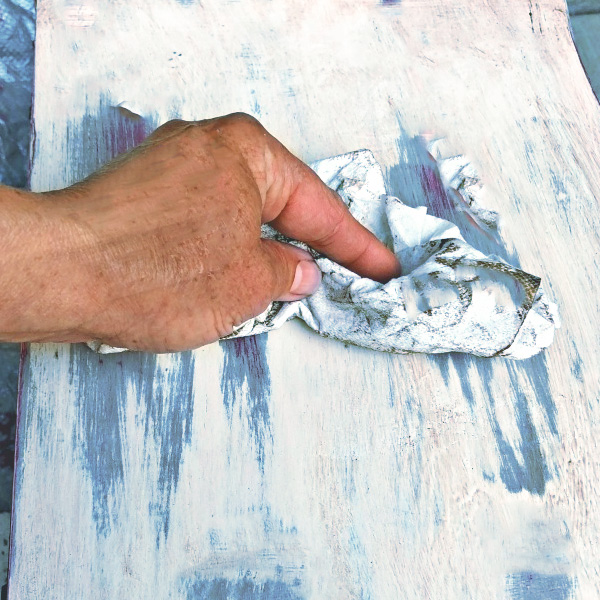
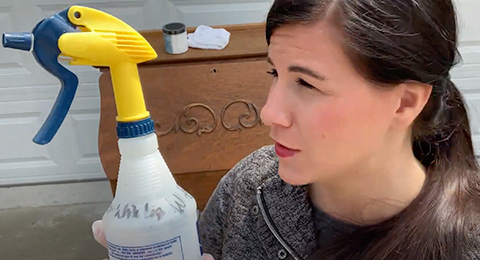
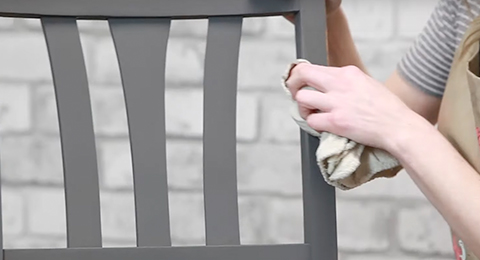
Wet distressing is a technique used to create a more natural and authentic-looking distress on furniture. Unlike dry distressing, which involves sanding the paint to reveal the underlayer, wet distressing involves using a damp cloth to gently wipe the paint away. This technique is often used on furniture that has been painted with chalk paint, which has a porous surface that makes it easy to distress.
Overview. This technique is ideal when layering colors. It can be used to create a more natural looking worn effect. Wet distress works best after the second layer of paint color has been applied and dry to the touch (20 minutes). You’ll need a bucket of water and a lint-free cloth or scouring pad. The cloth should be damp, but not soaking/dripping wet. Gently rub the cloth across the surface in a back-and-forth motion with a little pressure at first and then apply more if needed to remove paint. You can distress the edges as well as the flat surfaces for the worn effect you desire.
Supplies.
Steps.
Note.
Wet distressing can result in a more organic and natural-looking distress. It's important not to over-distress the piece, as this can result in an artificial or excessive appearance. Begin with a light touch and gradually build up the level of distressing to achieve the desired look.
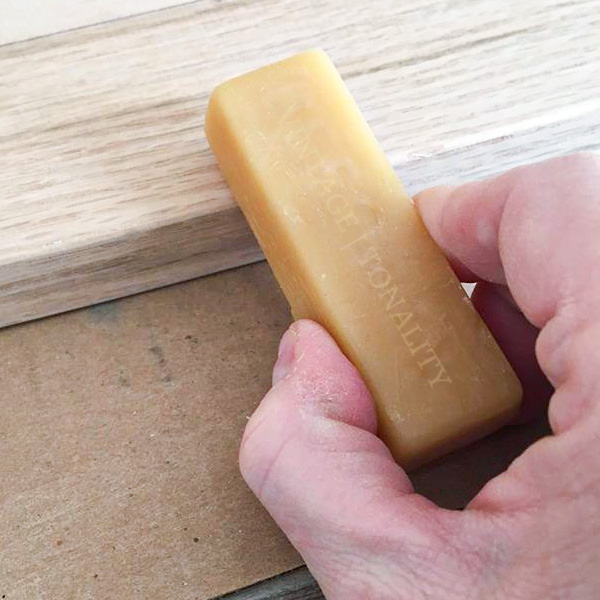
Wax distress, also known as the "resist" technique, is a method used to create a subtle and sophisticated distress on furniture. This technique involves applying a layer of wax to the surface of the furniture, painting over it, and then sanding or scraping the paint away to reveal the underlying wax. This creates a distressed effect that is both subtle and elegant. Here are the steps for wax distressing (resist technique) over chalk paint.
Overview.For the this technique you’ll want to use a natural (bee) wax, petroleum jelly, or candle wax. When applied to painting surface areas it will act as a resistance to the paint. For a natural look you will first want to apply or rub some of the edges, corners and raised surface spots. The wax is going to resist the second layer of paint in those places and the paint will come off easily when you begin lightly distressing with a wet cloth or sanding block. If you make a mistake and applied to much to a specific area you can use Mineral Spirits on a lint-free cloth to remove the excess.
Supplies.
Steps.
Note.
The wax distressing method can bring a touch of sophistication to your furniture with its delicate and subtle distressed effect. However, it requires care and accuracy. Over-distressing can take away from the refined appearance, so it's important to proceed with a gentle touch and build up the level of distressing as desired.
After you've achieved the desired level of distressing, it's time to seal the piece. Choose a high-quality clear wax or polyurethane or a water-based polycrylic to protect the paint and ensure that it lasts for years to come. Apply the sealant evenly and in thin, even coats, being careful not to leave any drips or bubbles when using a polyurethane or polycrylic. Allow the sealant to dry completely before using the piece.
Supplies.
In addition to these basic steps, there are a few tips you can follow to get the best results when distressing with chalk paint:
Distressing furniture with chalk paint is a fun and easy way to give your furniture a rustic, vintage, shabby-chic look. By following these simple steps, you can create a beautiful piece like a pro that will be a standout in your home. So, gather your supplies, find a piece of furniture that needs a makeover, and get started on your next project!


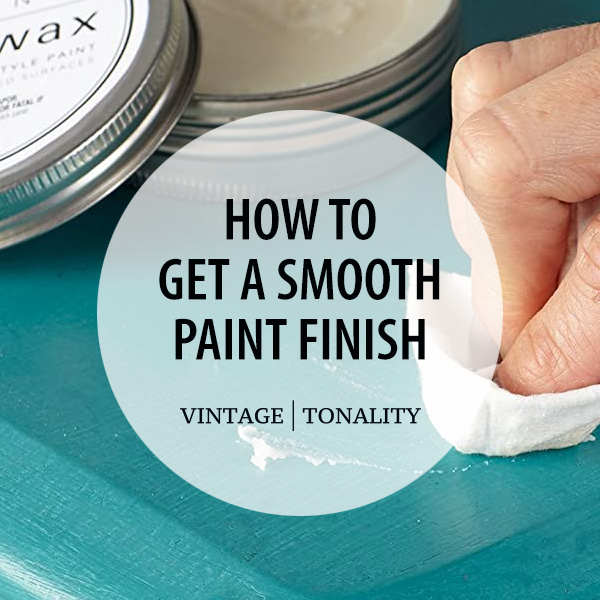
How to: Smooth Chalk Paint Finish If you love the look of chalk painted furniture, but want a smoother, more modern finish with minimal brush strokes.

Chalk Painting 101: For Beginners Chalk painting tips for beginners that will help you better understanding the process of painting furniture.

How to: Chalk Paint Recipe For those who appreciate the vintage, soft, matte look and feel of chalk paint, but don’t love the price.
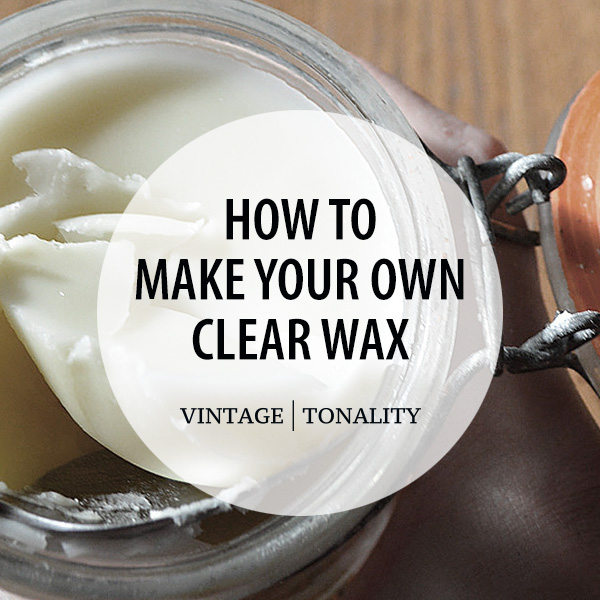
How to: Make Your Own Soft Wax Make your own custom DIY clear wax for less than 80% of the price of well known brands, using non-toxic ingredients.
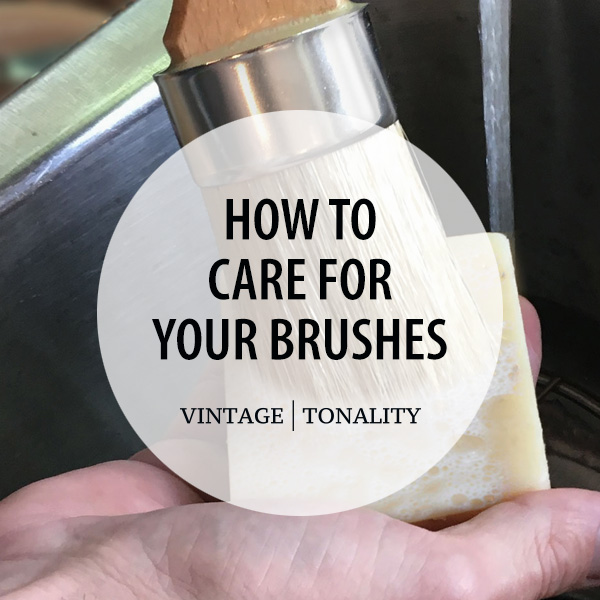
How to: Care For Your Brushes Your natural bristle brushes are an investment and you want to learn how to properly care for them.
Prep, Clean & Maintain Your Brushes This exclusive ebook guide is available to customers who have purchased one of our brushes. Includes bonus Tips & Tricks.
Distress Furniture With Chalk Paint In this comprehensive guide, we'll walk you through the process of distressing furniture with chalk paint, from start to finish.
Priming Before Chalk Painting Understanding the pros and cons of priming before chalk painting furniture and understanding bleed-through solutions.

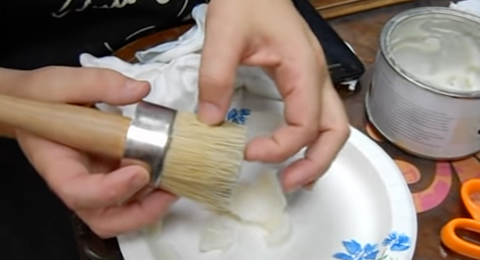
Clean Chalk Paint Brushes How to properly clean chalk paint brushes after each use to maintain their quality and prolong their lifespan.
This page contains external supply links to Amazon. We provide these links as a courtesy to you, and we may receive a small commission from Amazon's affiliate marketing. YouTube generates preview thumbnails for video tutorials are used under the Fair Use Act.
© 2015 - 2026 Vintage | Tonality® - All rights reserved. Any unauthorized use, such as distributing, copying, modifying, or reprinting, is not permitted.
Site content protected by: Digital Millennium Copyright Act


© 2026 All rights reserved. Vintage Tonality® is a registered trademark in the US & UK.
![]()
Vintage | Tonality Brand
AFFILIATES | RESELLERS | AMBASSADORS