
CLOSED June 29 - July 9 ~ All order received during this time period will ship July 10th
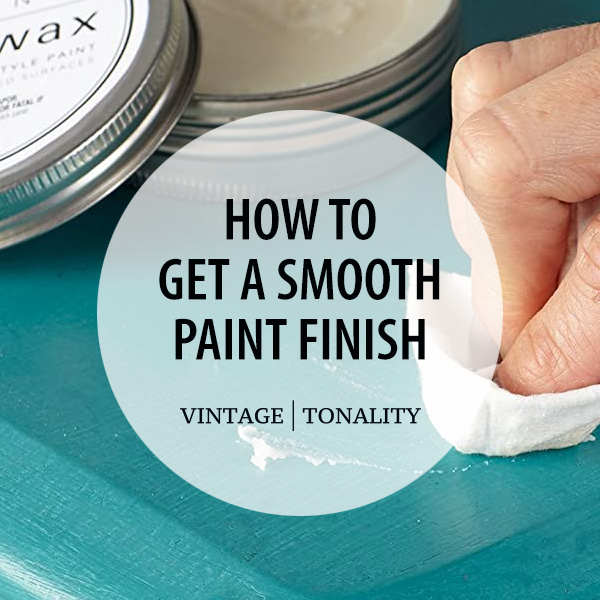
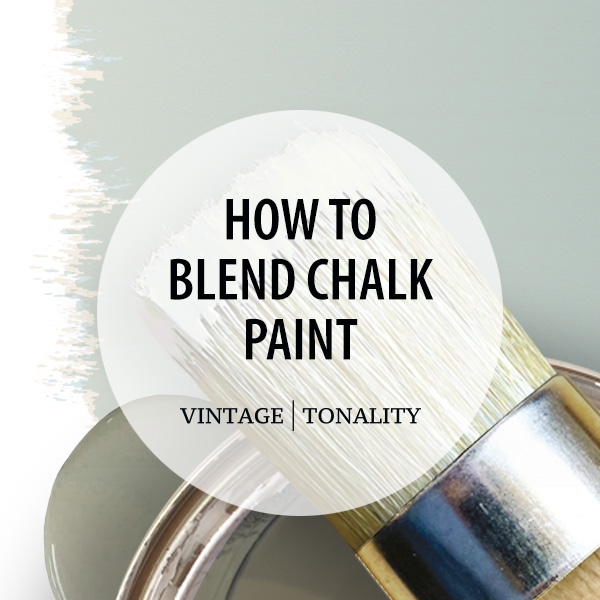
How Toget a smooth finish with chalk paint
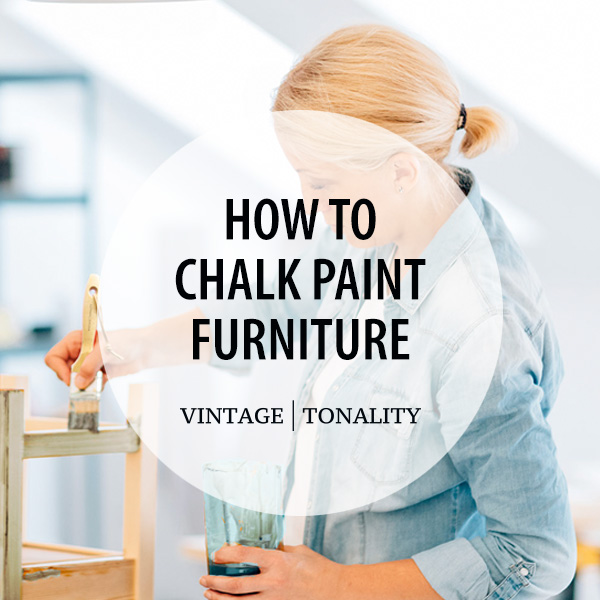
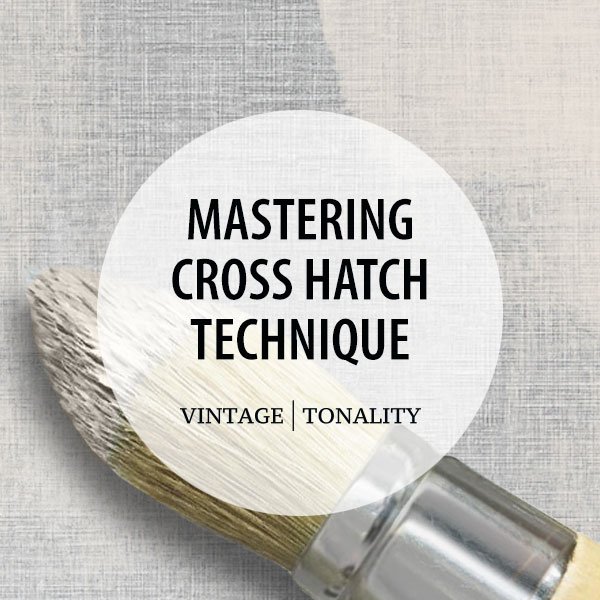
How to Get a Smooth Finish with Chalk Paint
For those who love the traditional look of chalk painted furniture but want a smooth modern finish, with minimal brush strokes, then follow our simple guide - "How to Get a Smooth Finish with Chalk Paint" and start painting like a seasoned DIYer in no time.
If you love the look of chalk painted furniture, but want a smoother, more modern finish with minimal brush strokes, then follow our simple How to Get a Smooth Finish with Chalk Paint Guide and start painting like a seasoned DIYer in no time.
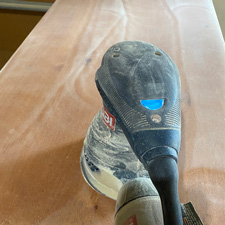
STEP 1
SAND / MEDIUM GRIT
IN SAME DIRECTION AS GRAIN
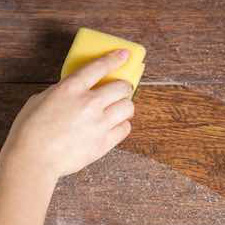
STEP 2
CLEAN SURFACE
WIPE AWAY DUST & PARTICALS
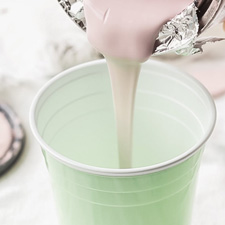
STEP 3
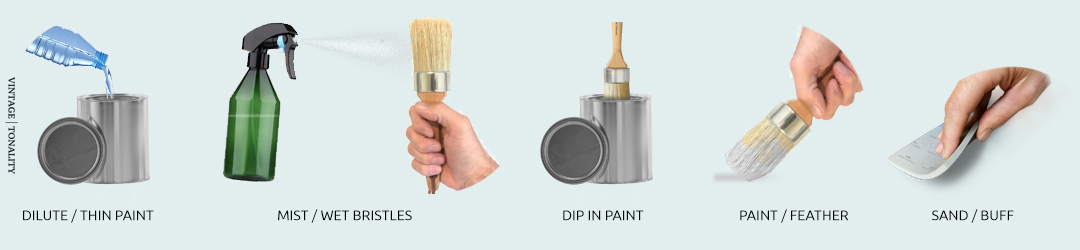
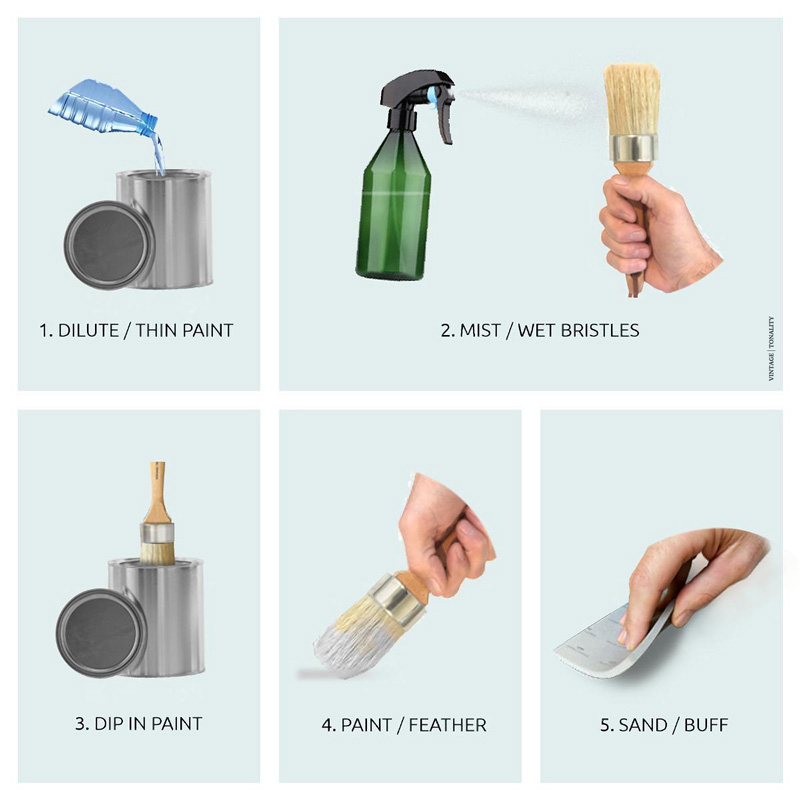
DILUTE / THIN PAINT
IN A SEPARATE CONTAINER WITH WATER
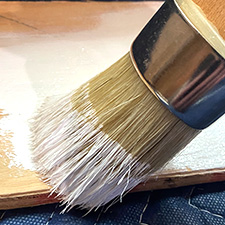
STEP 4
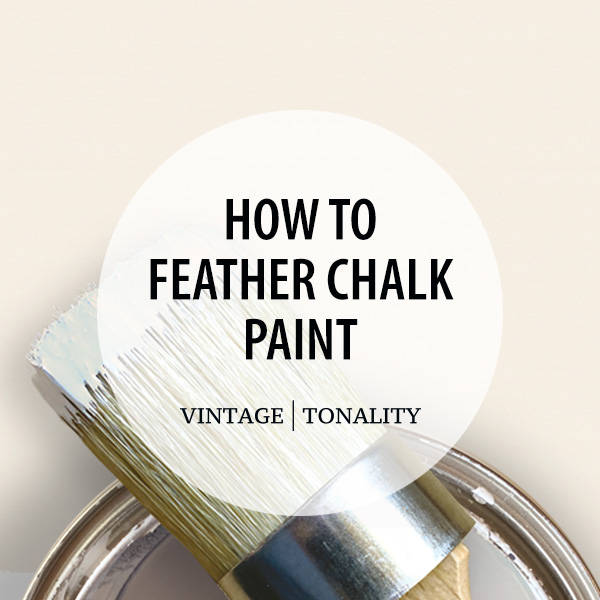
APPLY / FEATHER PAINT
LIGHTEN PRESSURE & MIST BRISTLES w/ WATER
STEP 5
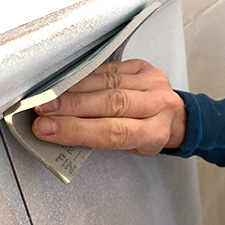
SAND / FINE GRIT
LIGHTLY BETWEEN EACH COAT OF PAINT
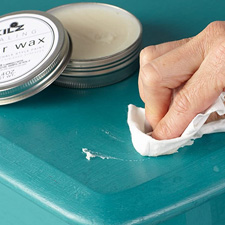
STEP 6
APPLY WAX / BUFF
LIGHTLY OVER THE PAINTED SURFACE
How to: Smooth Finish With Minimal Brush Strokes
- Sand the entire surface with a medium grit paper or wet/dry sanding sponge going in the same direction as the wood grain.
- Wipe away all the dust and sanding particals then clean the surface.
Cleaning: use a sponge or lint-free microfiber cloth dipped in a bowl or bucket of warm water with a mild dish soap mixed in. - Dilute the paint in a separate container, glass bowl or tin by adding water. Start at a 10% water ratio then increase adding water if needed.
- Apply the paint lightly going in the same direction as the wood grain pattern. The first paint coat never looks great (this is normal) and you will likely need to apply a minimum of 2-3 additional coats.
Recommended Painting Techniques
+ Feathering - With very light pressure and your brush angled up (not straight up and down), lightly brush over the paint smoothing out any heavy strokes.
+ Keep the bristles damp by misting (spritz) the tips of your brush using an inexpensive water spray bottle before dipping them in the paint. This will help them be more pliable and gentle as they lay down the paint while also minimizing brush strokes.SMOOTHING IMPERFECTIONS: Priming first helps to cover up imperfections on the surface, such as knots or cracks, and provides an even base for the paint to adhere to, leading to a smoother and more even final finish. Review our article: Priming Before Chalk Painting
- Between each paint coat use a fine grit (220+) sanding paper or sponge and lightly sand over the surface.
IMPORTANT: Always sand in the direction as the wood grain. After each sanding it's important to wipe off all the dust particles using a lint-free cloth.
- Apply a top coat using a lint-free cloth or brush.
Wax: Dark or Clear
Lightly work the wax over the painted surface making sure to remove any excess wax. Once the wax has dried buff lightly with a clean lint-free cloth. Repeat this step between wax coats.
PRO HACK: Use a brown lunch bag folded in half and lightly go over the surface. The brown bag works as a super-super fine sanding grit (800+) that will help buff out any excess wax without damaging the top coat.
Polyurethane or Polycrylic
Apply in the same direction as the grain. Once dried use a fine grit (220+) sanding paper or sponge and lightly sand over the surface. Repeat step between applications.
Check out our article: How to Prevent Chalk Paint from Chipping and PeelingExplore effective tips to prevent chalk paint from chipping and peeling, ensuring your projects stand the test of time.


More: Articles + Guides
How to: Smooth Chalk Paint Finish If you love the look of chalk painted furniture, but want a smoother, more modern finish with minimal brush strokes.

Chalk Painting 101: For Beginners Chalk painting tips for beginners that will help you better understanding the process of painting furniture.

How to: Chalk Paint Recipe For those who appreciate the vintage, soft, matte look and feel of chalk paint, but don’t love the price.
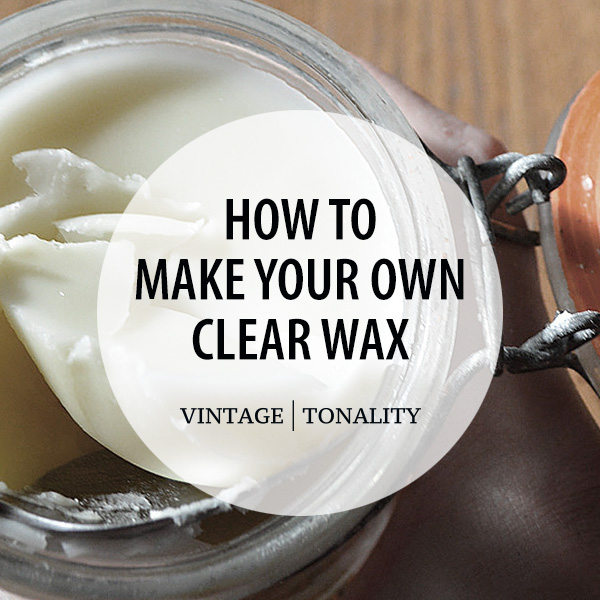
How to: Make Your Own Soft Wax Make your own custom DIY clear wax for less than 80% of the price of well known brands, using non-toxic ingredients.
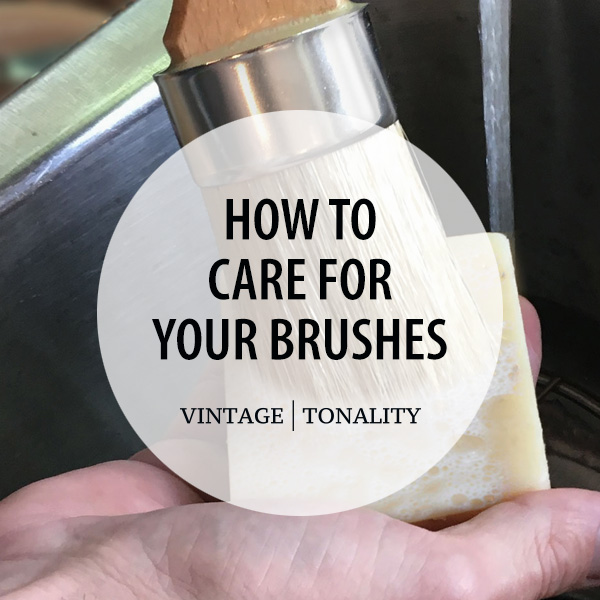
How to: Care For Your Brushes Your natural bristle brushes are an investment and you want to learn how to properly care for them.
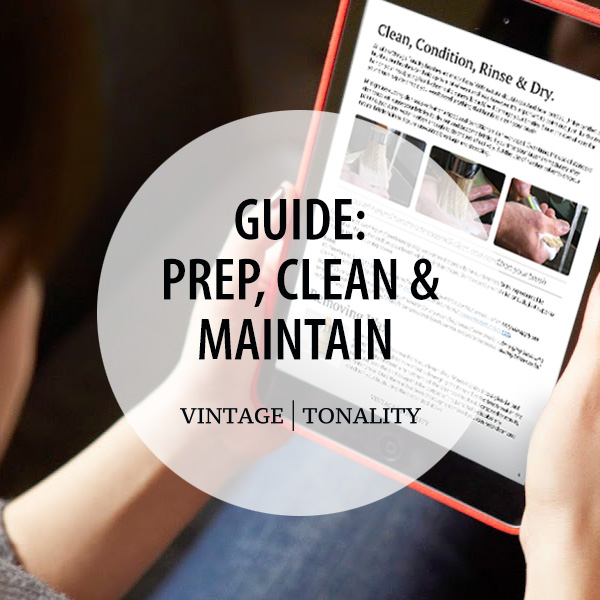
Prep, Clean & Maintain Your Brushes This exclusive ebook guide is available to customers who have purchased one of our brushes. Includes bonus Tips & Tricks.
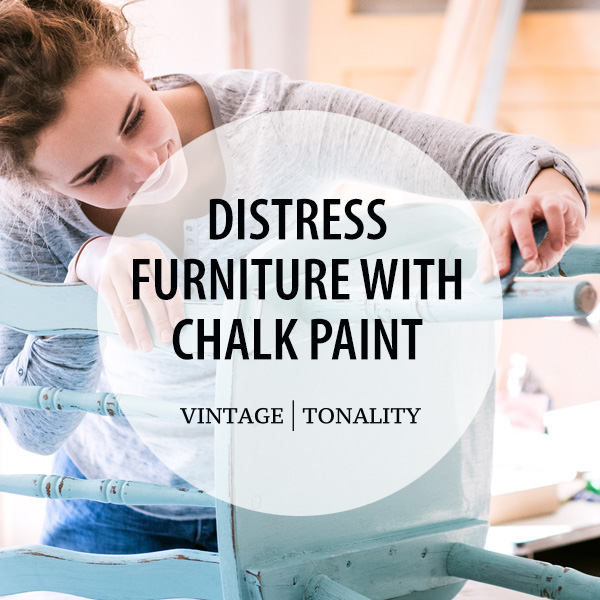
Distress Furniture With Chalk Paint In this comprehensive guide, we'll walk you through the process of distressing furniture with chalk paint, from start to finish.
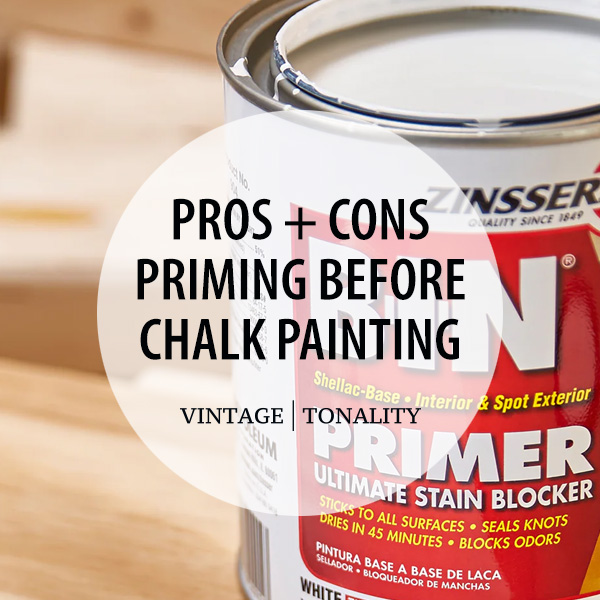
Priming Before Chalk Painting Understanding the pros and cons of priming before chalk painting furniture and understanding bleed-through solutions.

Clean Chalk Paint Brushes How to properly clean chalk paint brushes after each use to maintain their quality and prolong their lifespan.


/ also found at these great locations /


© 2026 All rights reserved. Vintage Tonality® is a registered trademark in the US & UK.
![]()
Vintage | Tonality Brand
AFFILIATES | RESELLERS | AMBASSADORS