![]() VIDEO |
VIDEO |
![]() PAINTING 101 |
PAINTING 101 |
![]() GETTING STARTED |
GETTING STARTED |
![]() TECHNIQUES |
TECHNIQUES |
![]() ARTICLES
ARTICLES
FREE SAME DAY SHIPPING ~ Orders place Mon-Fri ~ before 2 PM (PST)
These easy to follow chalk painting tips for beginners will provide you with a better understanding of the process and get you started on the creative journey of painting furniture with chalk paint.

DO-IT-YOURSELF
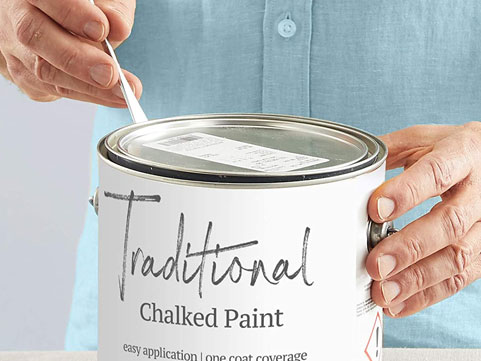
While you can buy chalk paint from various brands, you can also make your own with just a few ingredients.
Learn how to make your own homemade chalk paint »

CHECK OUT: Our latest helpful article -
• Top 10 Essential Supplies for Perfect Chalk Painting Projects
• Understanding Color Theory for Chalk Painting Furniture
• The 60-30-10 Rule: Achieving Color Balance in Chalk Painting Furniture
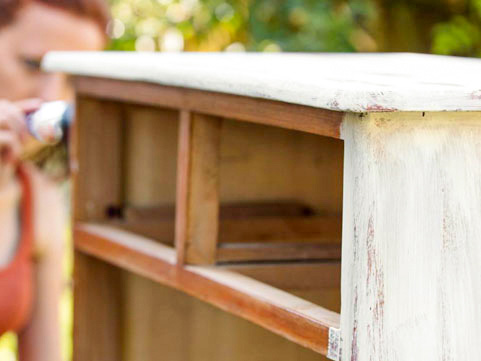
Are you ready to give your furniture a second chance at life? Look no further than the magic of chalk paint! Not only is it easy to use and budget-friendly, but it also has the ability to turn even the most worn and tired piece of furniture into a one-of-a-kind masterpiece. So put on your favorite tunes, grab your paint brushes and let’s give that furniture the makeover it deserves.
For those who are new to chalk painting, we recommend that your first project be something that has minimal sentimental or personal significance to you. Instead, take the time to experiment with your brushes and paint, while learning the fundamental techniques, before tackling a larger and more personal project. An end or side table, a dresser, or even something you found on the side of the road for free or an inexpensive find at a garage sale or thrift store. Check out our article: How to Find Free Furniture to Paint » Watch Tutorial

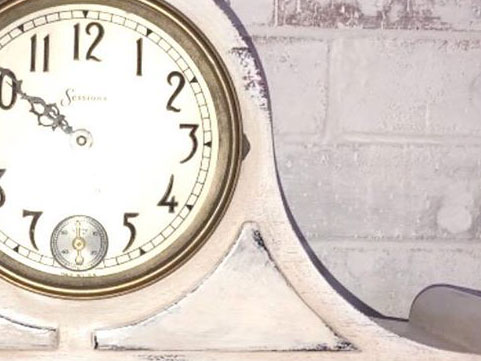
If you have difficulty finding beauty in the imperfections then chalk painting is not for you. You cannot be a perfectionist and use chalk paint, because perfection is not what you should be aiming towards. Chalk painting is about creating and capturing those natural and vintage textures that transform a dull and ordinary piece of furniture into a personal treasure. It’s about having fun, being creative and willing to experiment.
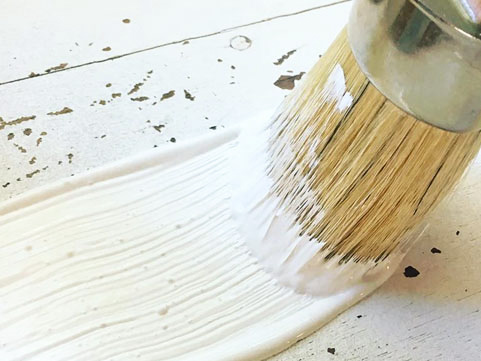
For the first coat we recommend adding a little water to thin out the paint. Don’t try to make it look perfect otherwise the paint will be too thick, slow to dry, and potentially cause unwanted peeling and/or cracking later down the road. Apply a thin coat of paint over the surface area and don’t be alarmed if it looks a bit patchy. The first coat never looks good and that is perfectly normal. Let it dry for roughly 45 minutes to 2 hours and then begin applying your 2nd coat. Most projects will require at least 3 coats but this is dependent on the look and feel you want and overall surface coverage.
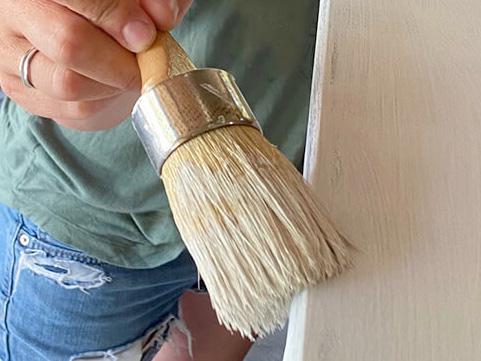
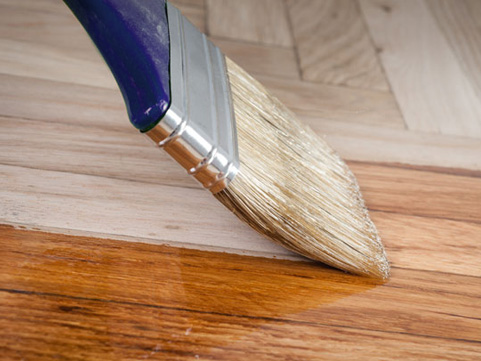
Brush strokes are inevitable with any natural bristle brush, especially when using a heavier paint like chalk paint. It has that old world vintage charm, look, and feel to it. Many of those things are inspired by the textures you can achieve with paint and a natural bristle brush. It enables you to create amazing and one-of-a-kind pieces by utilizing various painting techniques (Cross-Hatch, Feather, Stipple, Dry Brushing, Wash). Watch Tutorial
If you’re looking for a smoother finish then we recommend thinning the paint by adding water to the paint or wetting the tip of your brush with water before you dip it into the paint.
ARTICLE: Read our simple to understand "How to Get a Smooth Finish with Chalk Paint" guide and start painting like a seasoned DIYer in no time.
Keeping the tips of your bristles moist will help them be more pliable and gentle as they lay down the paint. We also recommend feathering. Feathering is a painting technique that is going to help smooth out most of the paint strokes. With very light pressure and your brush angled up (not straight up and down), lightly brush over the paint smoothing out those heavy strokes. Watch Tutorial
Brush Strokes Read our simple to understand "How to Get a Smooth Finish with Chalk Paint" guide and start painting like a seasoned DIYer in no time.
Since I can’t see what your painting I honestly have no idea. In most cases a single quart of paint has a coverage of roughly 140 sq/ft. Since you will likely being adding more than one coat of paint you’ll have to do some math on your part. Chalk paint spreads out quite smoothly and a little goes a long ways so a quart should be enough for a few medium to small projects. Watch Tutorial
Also known as a sealant, it’s used to seal and protect your painted furniture piece. It’s not a required step but recommended if you want to protect the finish longer. It’s especially recommended if it will be placed in a high use area of your home. Watch Tutorial

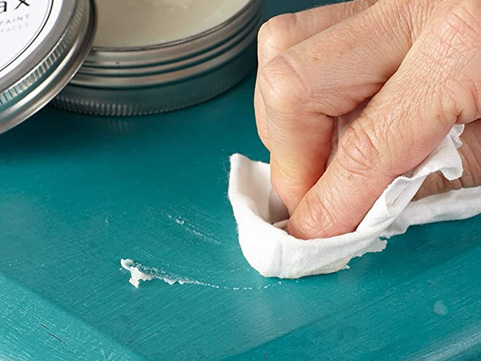
Available in multiple colors ranging from clear to dark. Wax works exceptionally well with chalked paints because the paint is so porous and will absorb a lot of the top coat. Wax enhances and deepens the color and gives the piece a nice matte sheen. Waxes can be applied using a wax brush or a lint free cloth. We recommend applying a thin coat. After the wax has dried you can apply additional coats for better protection. Wax is very durable and water resistant. It’s generally the first choice as a top coat sealant. Additionally, you can make your own homemade clear wax. Watch Tutorial
Both work well as top coats and are available with a matte, semi-gloss, gloss, or satin finish. We strongly recommend using a water-based over an oil-based. Oil-based top coats tend to cast a yellowing tint more noticeable on lighter colors. Polyurethane are available in both a water- or oil-based versions while Polycrylic are solely water-based and the preferred between the two types. They can be used with a bristle or foam brush, a roller, or a spray. We recommend applying a thin layer and allowing it to dry. For added protection, additional layering is advised. It provides excellent protection when placed in wet or spill-prone areas. (i.e. kitchens or bathroom). Watch Tutorial
Chalk paint will generally dry within a couple of hours, but we recommend waiting 24 hour before putting in to gentle use. It typically takes around 30 days to fully cure, so while you can use your newly painted furniture right away, it's best to handle it with care until the curing process is complete. To prevent damage, avoid placing the item in high-traffic areas or damp environments like kitchens or bathrooms.
DIY Deanna does a great job going over the basics in this step-by-step, easy to follow tutorial.
~ DIY Deanna
You'll love the textured patterns that you can create with chalk paint and the right paint brush. It gives you the creative freedom to apply an entirely different look and feel to every project: Shabby Chic to Traditional Country Farmhouse to Rustic and Old World Vintage Charm.
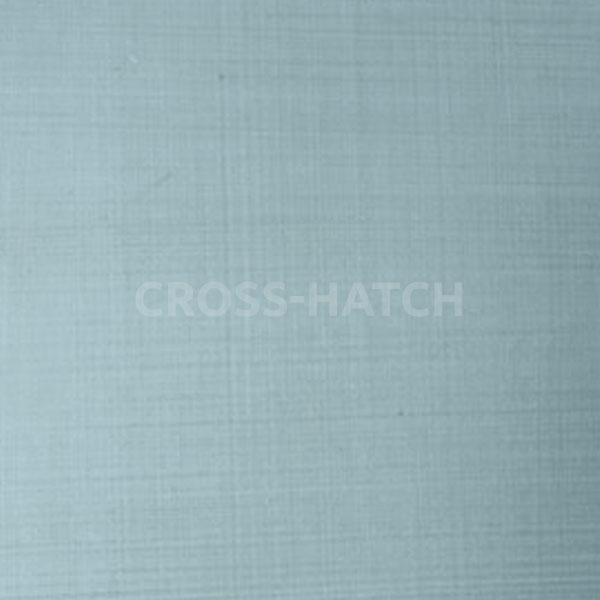
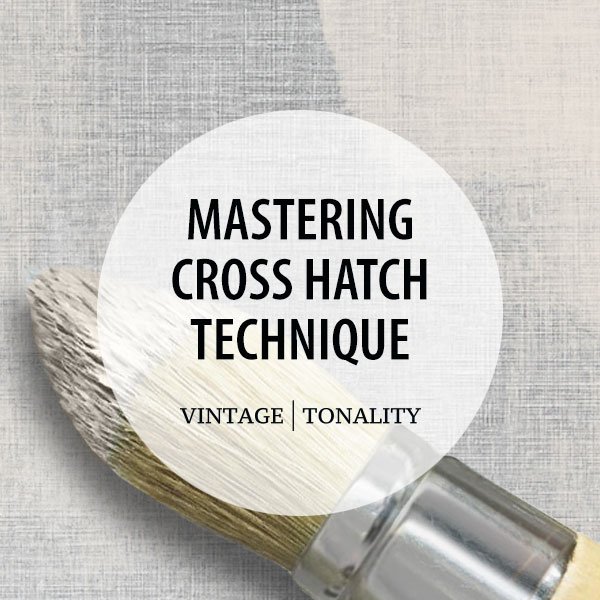
CROSS-HATCH WATCH DEMOSTRATIONGives you a that faux linen look. Brush strokes should be up-and-down (vertical) and side-to-side (horizontal). Let the paint dry between coats
Read more »

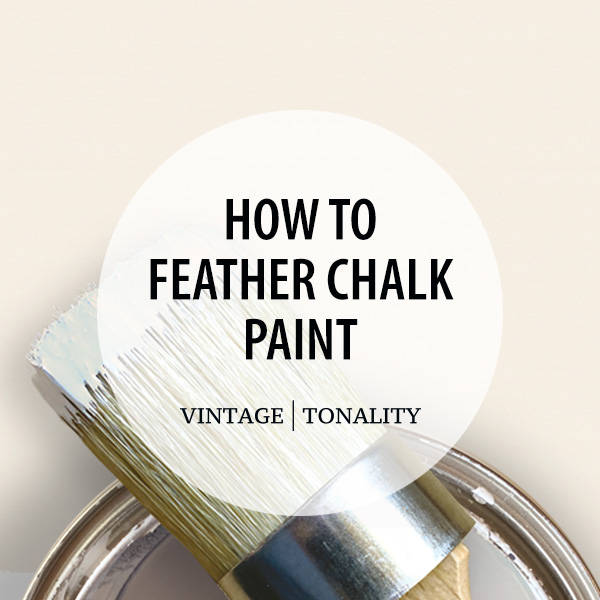
FEATHERING WATCH DEMOSTRATIONFor a smoother finish apply very light bristle pressure and gently brush over the paint smoothing out those heavy strokes.
Read more »
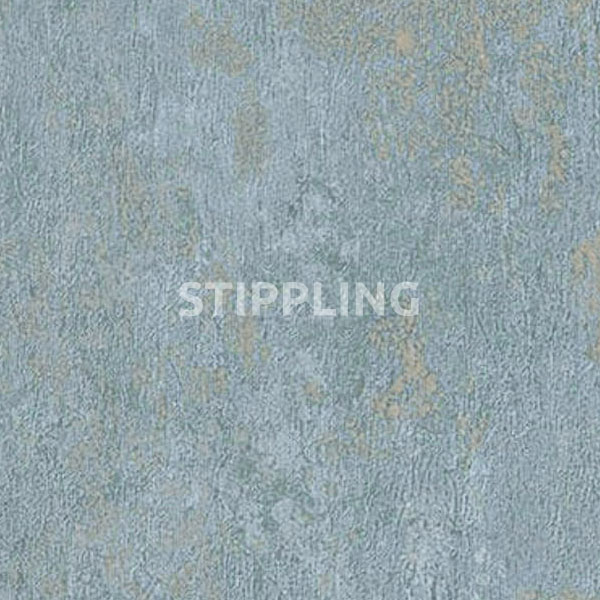
STIPPLING WATCH DEMOSTRATIONAdds physical dimension with low peaks and valleys by painting heavily in a small area and followed up by dabbing the area with the tip of the bristles.
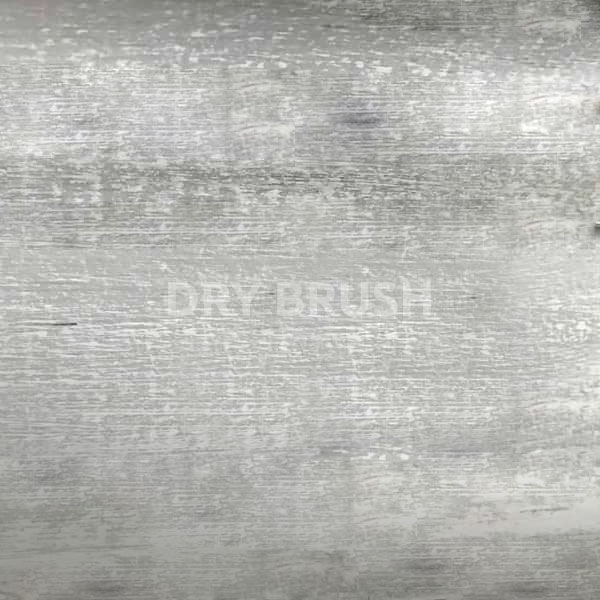
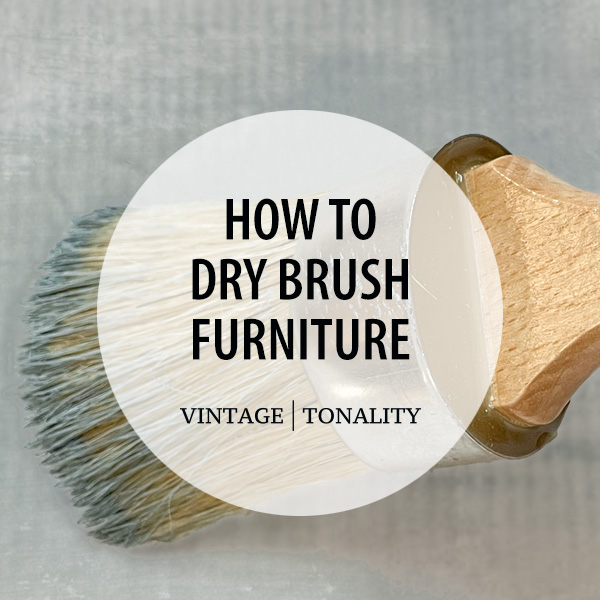
DRY-BRUSH WATCH DEMOSTRATIONAdds a visual dimension using the existing underneath finish. Lightly dip the brush tips with paint removing any excessive paint, then lightly brushing the paint over the surface area
Read more »
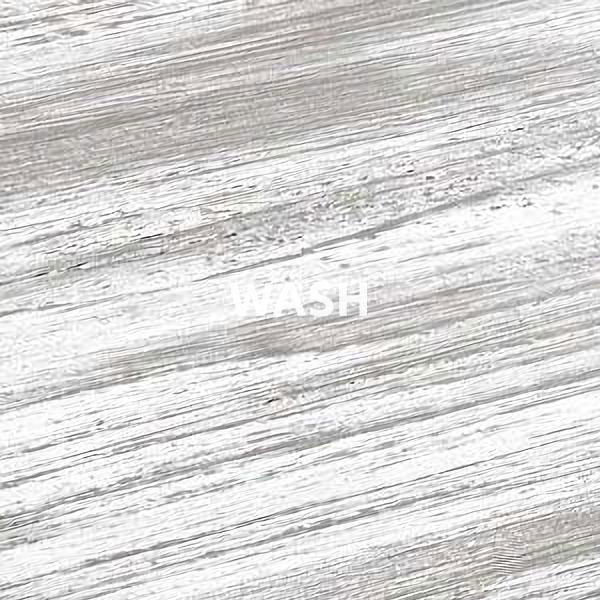
WASH WATCH DEMOSTRATIONDisplays a veil of color over the existing wood surface (i.e. barn wood effect). Thin paint by diluting with water. Apply over the surface and wipe off using a lint-free cloth.
Read more »
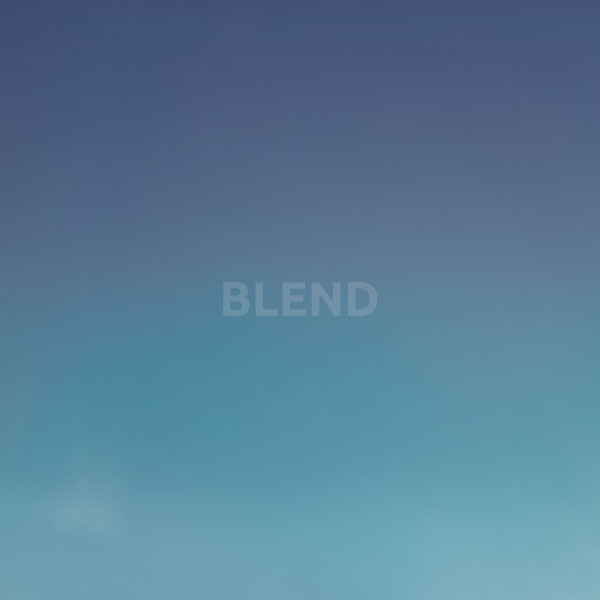
BLEND WATCH DEMOSTRATIONBlending adds dimension and character where 2+ colors meet by lightly moving the paint into the other color. Mist the bristles with water to assist blending the colors.
Read more »
Remember that each of these techniques will require practice to master, so don't be discouraged if your first attempt doesn't turn out exactly as you hoped. With practice, you'll be able to achieve a wide range of distinct and textured looks by applying any of these brushing techniques.
Definition: give simulated marks of age and wear
For achieving an authentic traditional look it’s important to think about the areas that would likely receive the most wear and tear from daily and extended use. Generally those areas would be edges, corners, high spots, and horizontal areas.
Watch Tutorial
DRY DISTRESS WATCH DEMOSTRATION
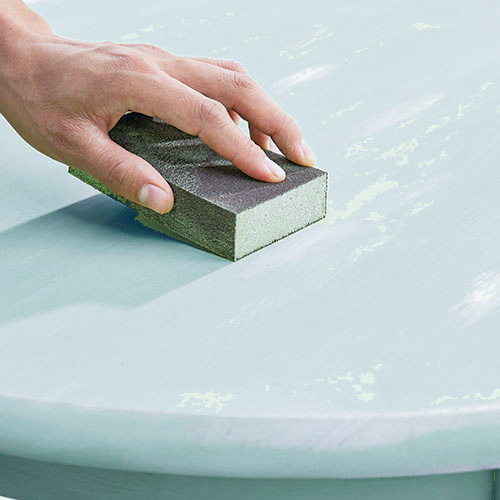
Overview: Using a medium (150) to fine (220) grit sand paper or sanding block, apply light pressure to the surface area. You can always go back and distressed those areas with more sanding as needed. You’ll want to hit those edges, corners and high spots that would naturally be affected from normal use to achieve the aged look. If you do happen to make a mistake you can easily touch up the area with more paint.STEPS
WET DISTRESS WATCH DEMOSTRATION
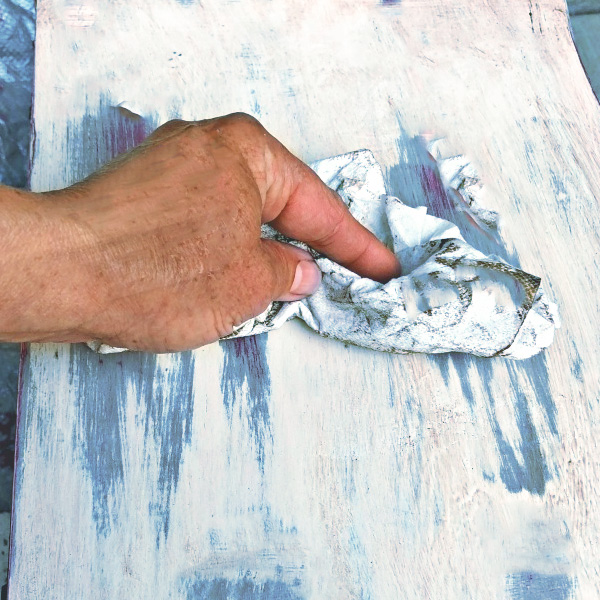
Overview: This technique is ideal when layering colors. It can be used to create a more natural looking worn effect. Wet distress works best after the second layer of paint color has been applied and dry to the touch (30-90 minutes). You’ll need a bucket of water and a lint-free cloth or scouring pad. The cloth should be wet, but not soaking/dripping wet. Gently rub the cloth across the surface in a back-and-forth motion with a little pressure at first and then apply more if needed to remove paint. You can distress the edges as well as the flat surfaces for the worn effect you desire.STEPS
THE 'RESIST' TECHNIQUE WATCH DEMOSTRATION
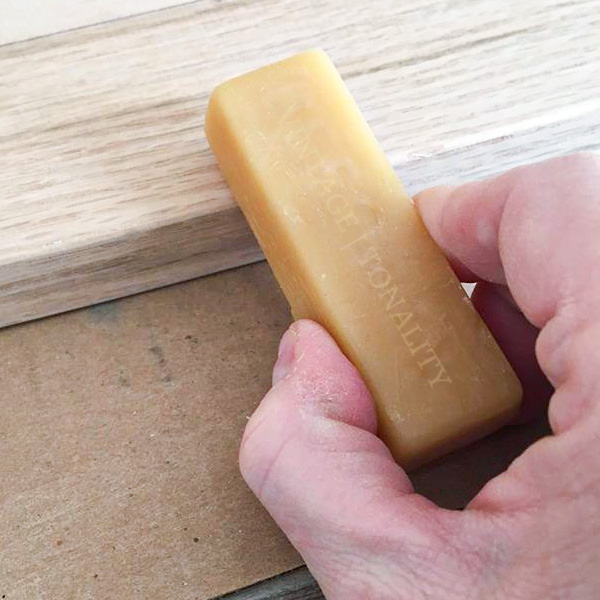
Overview: For the this technique you’ll want to use a natural (bee) wax, petroleum jelly, or candle wax. When applied to painting surface areas it will act as a resistance to the paint. For a natural look you will first want to apply or rub some of the edges, corners and raised surface spots. The wax is going to resist the second layer of paint in those places and the paint will come off easily when you begin lightly distressing with a wet cloth or sanding block. If you make a mistake and applied to much to a specific area you can use Mineral Spirits on a lint-free cloth to remove the excess.STEPS
Check out our recent article: How to Distress Furniture ~ Comprehensive Step-by-Step Guide
Another easy to follow tutorial on distressing by DIY Deanna.
~ DIY Deanna


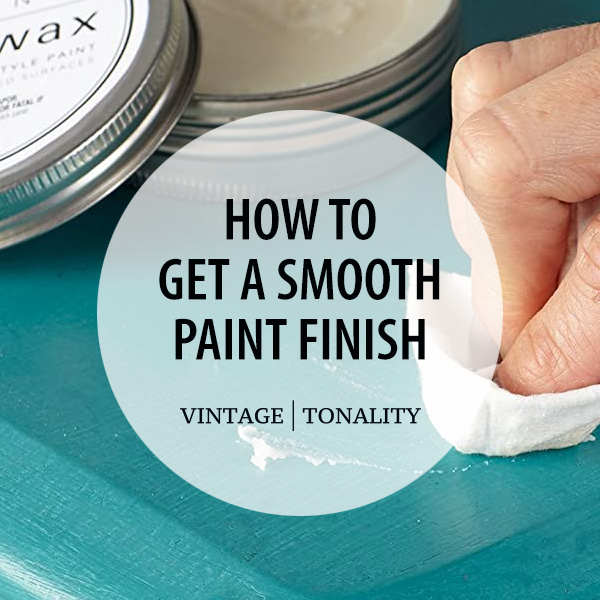
How to: Smooth Chalk Paint Finish If you love the look of chalk painted furniture, but want a smoother, more modern finish with minimal brush strokes.

Chalk Painting 101: For Beginners Chalk painting tips for beginners that will help you better understanding the process of painting furniture.

How to: Chalk Paint Recipe For those who appreciate the vintage, soft, matte look and feel of chalk paint, but don’t love the price.
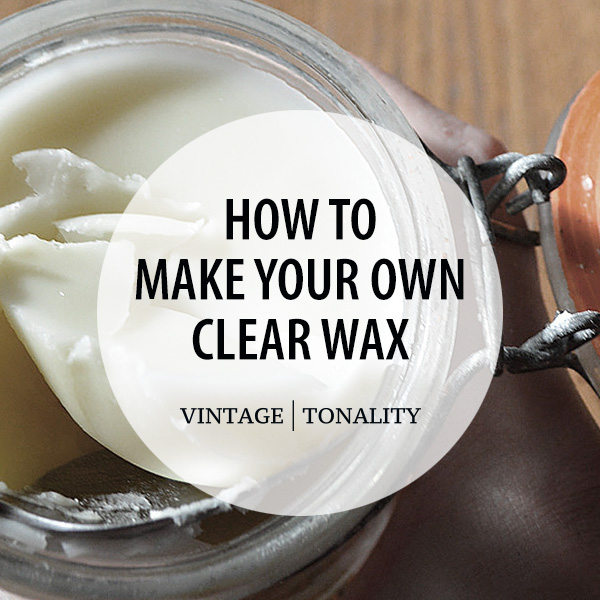
How to: Make Your Own Soft Wax Make your own custom DIY clear wax for less than 80% of the price of well known brands, using non-toxic ingredients.
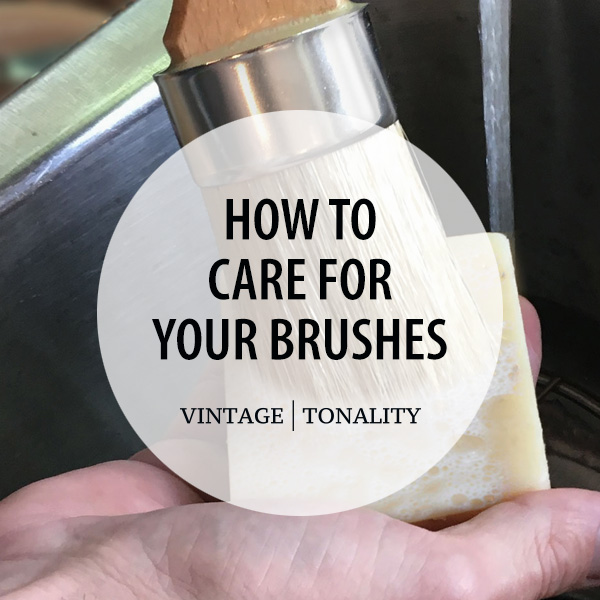
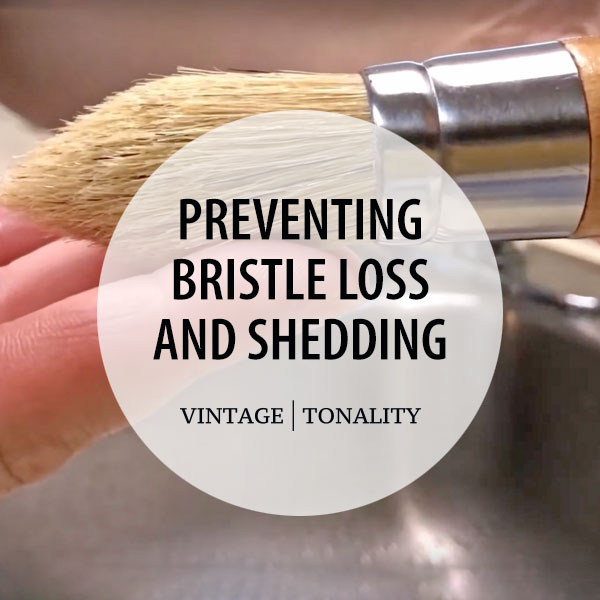
How to: Care For Your Brushes Your natural bristle brushes are an investment and you want to learn how to properly care for them.
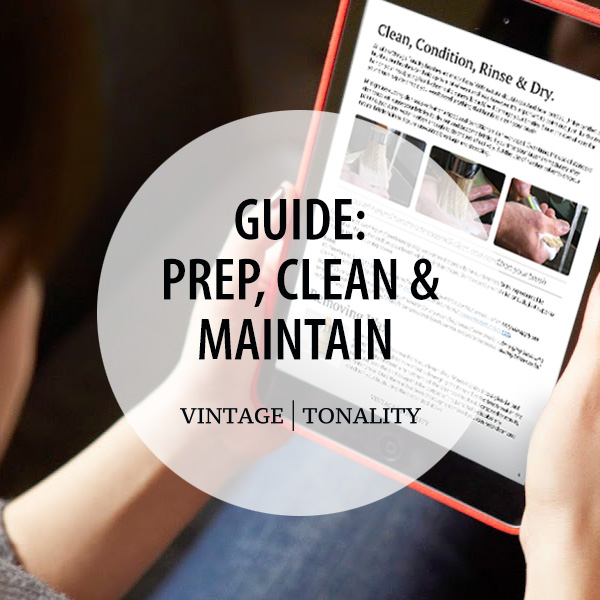
Prep, Clean & Maintain Your Brushes This exclusive ebook guide is available to customers who have purchased one of our brushes. Includes bonus Tips & Tricks.
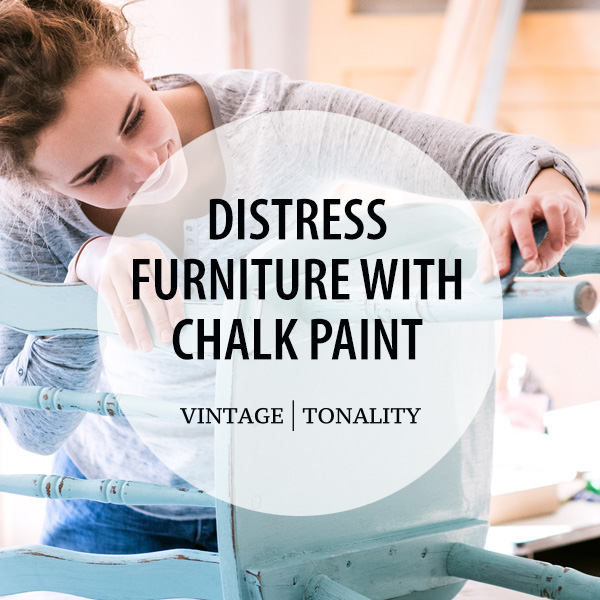
Distress Furniture With Chalk Paint In this comprehensive guide, we'll walk you through the process of distressing furniture with chalk paint, from start to finish.
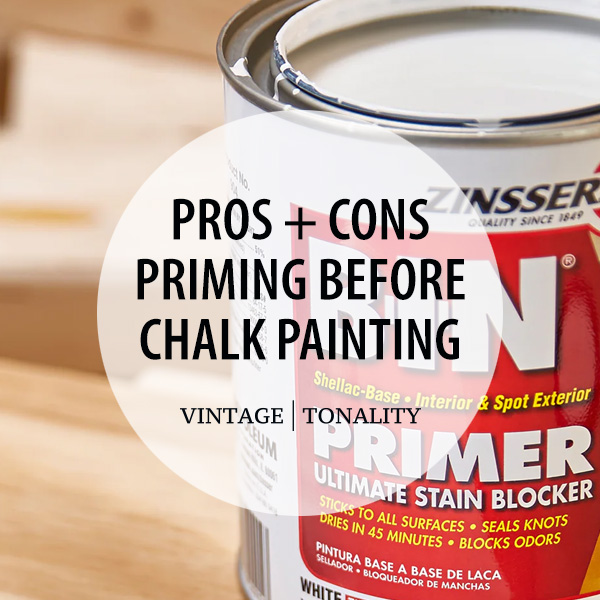
Priming Before Chalk Painting Understanding the pros and cons of priming before chalk painting furniture and understanding bleed-through solutions.

Clean Chalk Paint Brushes How to properly clean chalk paint brushes after each use to maintain their quality and prolong their lifespan.
© 2015 - 2026 Vintage | Tonality® ~ All rights reserved. Any unauthorized use, such as distributing, copying, modifying, or reprinting, is not permitted.
Rev. 6/22/2026
Site content protected by: Digital Millennium Copyright Act


© 2026 All rights reserved. Vintage Tonality® is a registered trademark in the US & UK.
![]()
Vintage | Tonality Brand
AFFILIATES | RESELLERS | AMBASSADORS