CLOSED June 29 - July 9 ~ All order received during this time period will ship July 10th
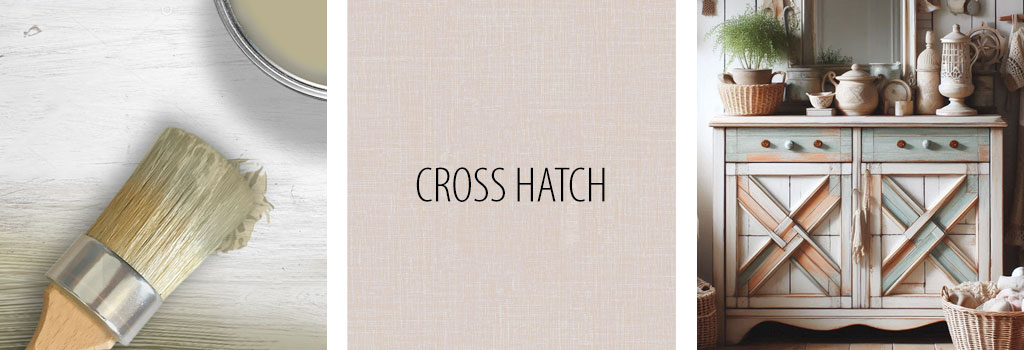
Mastering the Cross Hatching Technique Achieve a Faux Linen Look with Chalk Paint
Mastering the Cross Hatching Technique: Achieve a Faux Linen Look with Chalk Paint
Welcome to our comprehensive guide on the cross hatching technique with chalk paint. Whether you're a beginner or an experienced chalk painter, this method will help you create a beautiful faux linen look on your projects. By following these step-by-step instructions, you'll be able to add a unique texture and dimension to your painted surfaces.
Welcome to our comprehensive guide on the cross hatching technique with chalk paint. Whether you're a beginner or an experienced chalk painter, this method will help you create a beautiful faux linen look on your projects. By following these step-by-step instructions, you'll be able to add a unique texture and dimension to your painted surfaces.
What is Cross Hatching?
Cross hatching is a painting technique where brush strokes are applied in a crisscross pattern. This creates a textured, faux linen look that adds depth and interest to your piece. The key to mastering this technique is applying vertical and horizontal strokes and allowing the paint to dry between each layer.
Materials needed:
- Plastic container / mixing cup
- Protective drop cloth or old sheet
- Clean cloth or tack cloth
- Screwdriver + putty knife
Step 1: Prepare Your Surface
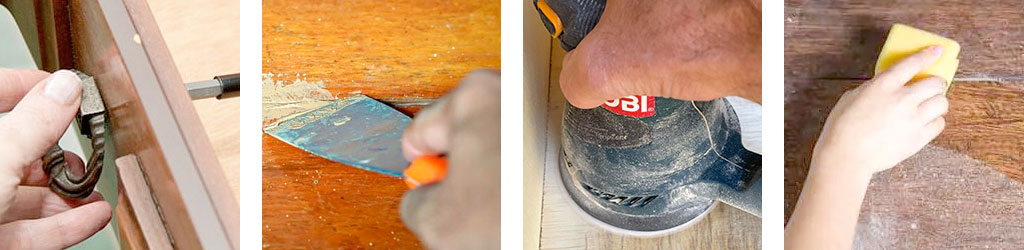
REMOVE HARDWARE
REPAIR DENTS + SCRATCHES
SAND SURFACE AREA
WIPE CLEAN
Before you begin painting, ensure your surface is clean, dry, and free of any dust or debris. If you're working on a previously painted piece, lightly sand it to create a smooth base. Use a drop cloth or newspaper to protect your workspace from spills and drips.
Step 2: Apply a Primer (Optional)
THERE ARE THREE TYPES OF PRIMER TO CONSIDER: BONDING PRIMERS, STAIN BLOCKING PRIMERS AND ODOR BLOCKING PRIMERS.
For best results, especially on darker surfaces or surfaces with stains, consider applying a primer base coat. This helps the chalk paint adhere better and ensures a more uniform finish. Use a quality primer and follow the manufacturer's instructions for application and drying times.
For additional information on priming, check out our popular article: Priming Before Chalk Painting Furniture.
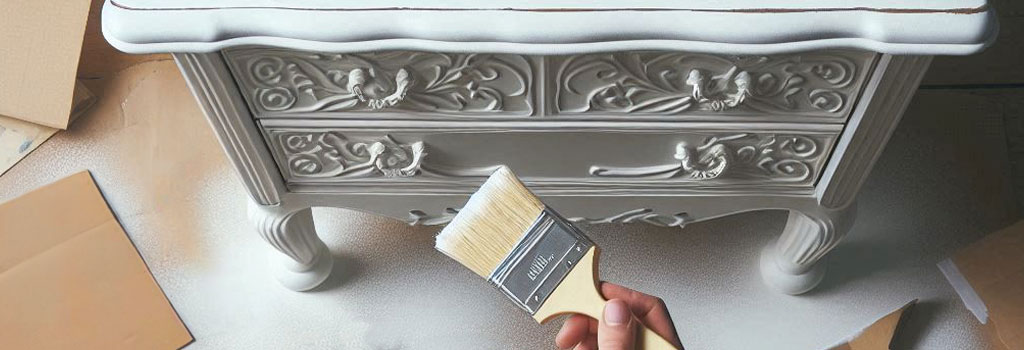
Step 3: Apply the Base Coat
Applying the first base coat of chalk paint to create a smooth foundation for the cross hatching technique.
Start by applying a base coat of chalk paint in your chosen color. Use long, even strokes to cover the entire surface. This layer provides a foundation for the cross hatching technique. Allow the base coat to dry completely before moving on to the next step. Drying times can vary depending on the paint brand, so refer to the manufacturer's instructions.
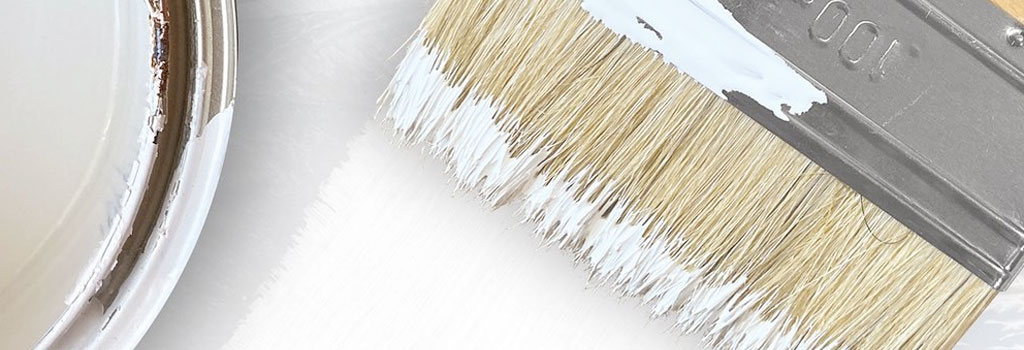
Step 4: Horizontal Strokes
Start with applying horizonal brush strokes across the surface.
Once the base coat is dry, it's time to begin the cross hatching technique. Dip your brush into the chalk paint and remove any excess. Starting from one edge of your piece, apply horizontal brush strokes from left to right. Aim for consistent, even strokes, and try to keep the lines straight. Don't worry about perfect coverage; the goal is to create texture.
Step 5: Let it Dry
Allow to the paint to dry between coats.
Allow the vertical strokes to dry completely before proceeding. This step is crucial to ensure that the subsequent horizontal strokes don't blend with the vertical ones, maintaining the crisscross pattern.
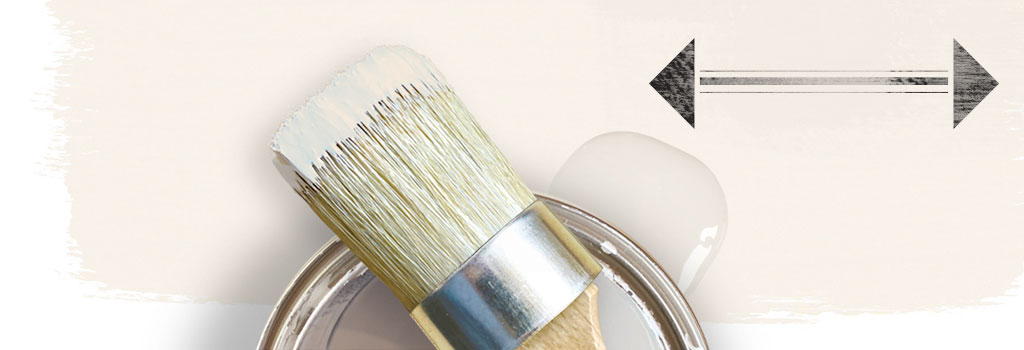
Step 6: Vertical Strokes
Apply veritcal brush strokes from top to bottom.
After the horizontal strokes have dried, apply vertical brush strokes across the surface. Start from top side and work your way down to the other, maintaining even pressure and consistent spacing. The vertical strokes should intersect the horizontal ones, creating a crosshatch pattern that mimics the look of linen.
Step 7: Assess and Touch Up
Step back to assess your work and make touch up adjustments as needed.
Once the verticall strokes are dry, step back and assess your work. If you notice any areas that need more texture or coverage, you can apply additional vertical and horizontal strokes as needed. Be sure to let each layer dry completely before adding more paint.
Step 8: Distressing for a Vintage Look (Optional)
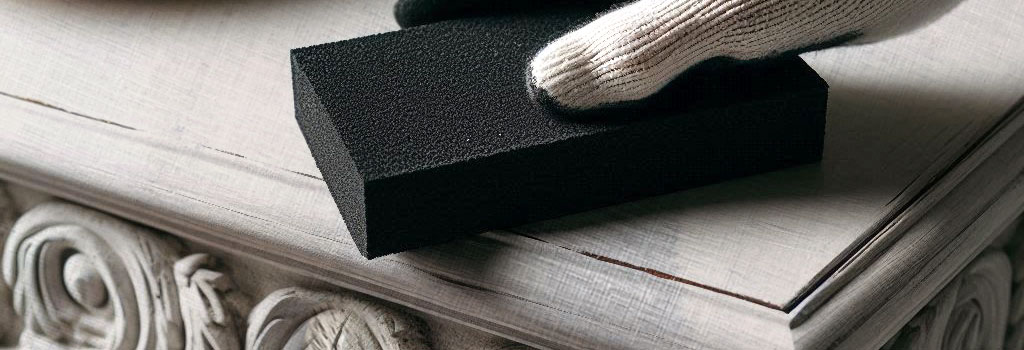
A fun and easy way to give your furniture a rustic, vintage, Farmhouse, shabby-chic look.
Now's your chance to give your piece a well-loved, vintage feel. Use sandpaper or a foam sanding pad to distress areas that would naturally show wear and tear, like corners and edges. This will give your furniture that charming, worn-in look.
Want to learn more about distressing? Check out our article Distress Furniture with Chalk Paint.
Step 9: Seal the Finish
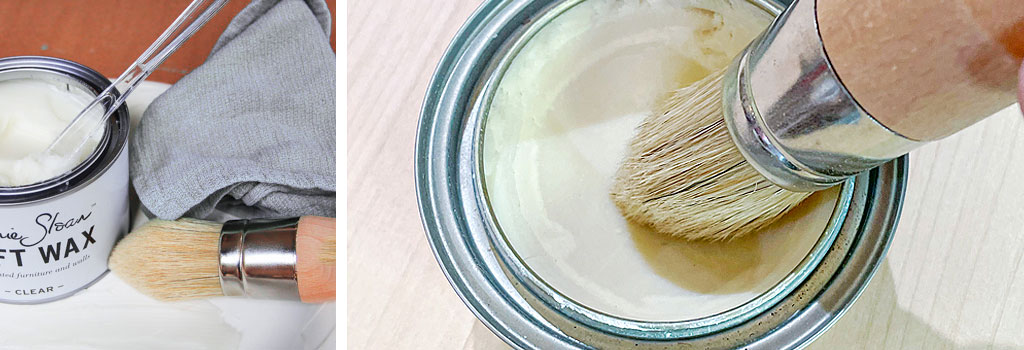
Seal with a protective wax finish.
To protect your newly painted surface and enhance the faux linen texture, consider applying a clear wax or matte finish sealer. This step is especially important for furniture pieces or high-traffic items. Follow the manufacturer's instructions for application and drying times.
Learn how to make your own DIY clear wax for less than 80% of the price of well-known brands.
Tips for Success
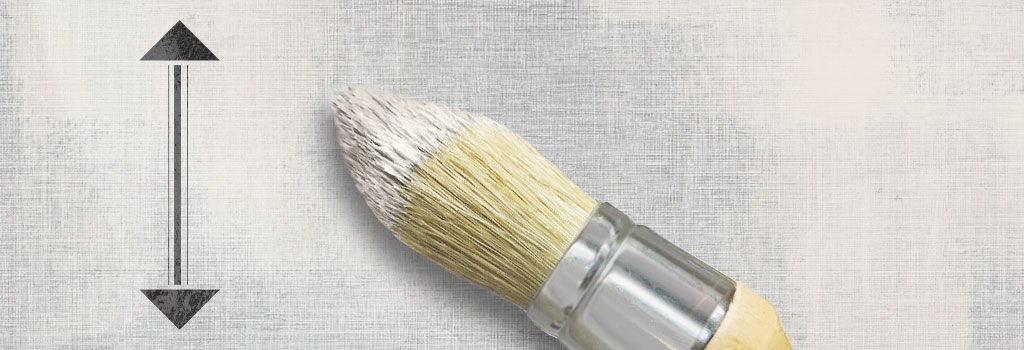
- Use Quality Brushes: Invest in good quality chalk paint brushes to achieve smooth, even strokes and reduce the risk of bristle loss.
- Practice on a Sample Board: If you're new to cross hatching, practice on a small piece of wood or cardboard before tackling your main project.
- Add Depth: Use complimentary colors to add more visual depth by selecting one color for your horizontal strokes and the other for your vertical. Take it a step further and put a third color as your base.
- Soften the Appearance: For a more nuanced and sophisticated faux linen look, try using a lighter shade and a darker shade of the same tonal color. Start with the lighter shade as your base coat and then layer the darker shade for the cross-hatching strokes. This subtle variation in color will add a softer, more refined texture to your finished piece.
- Keep It Light: Avoid applying too much paint at once. Lighter strokes create a more authentic linen look. Check out our article on Dry Brushing Furniture with Chalk Paint.
- Maintain Consistency: Try to keep your strokes consistent in length and pressure for a uniform appearance.
In Conclusion:
Take time to appreciate your creative endeavor.
The cross hatching technique is a fantastic way to add texture and depth to your chalk paint projects, giving them a unique, faux linen finish. By following these simple steps and tips, you can master this technique and create stunning pieces that stand out.
Happy painting!![]()


More: Articles + Guides
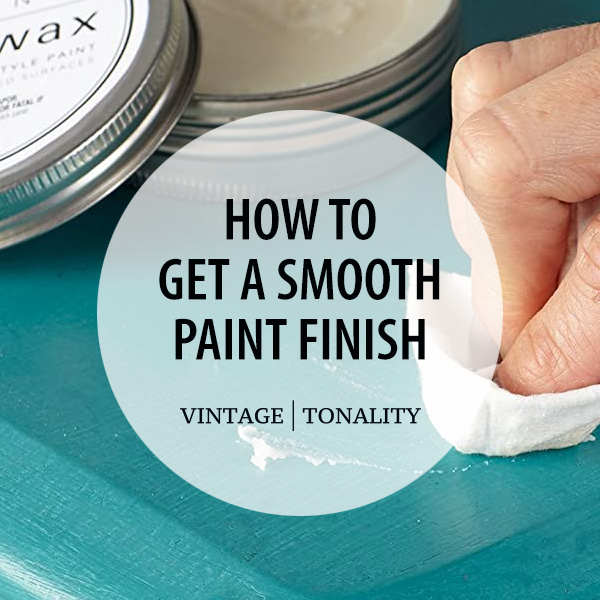
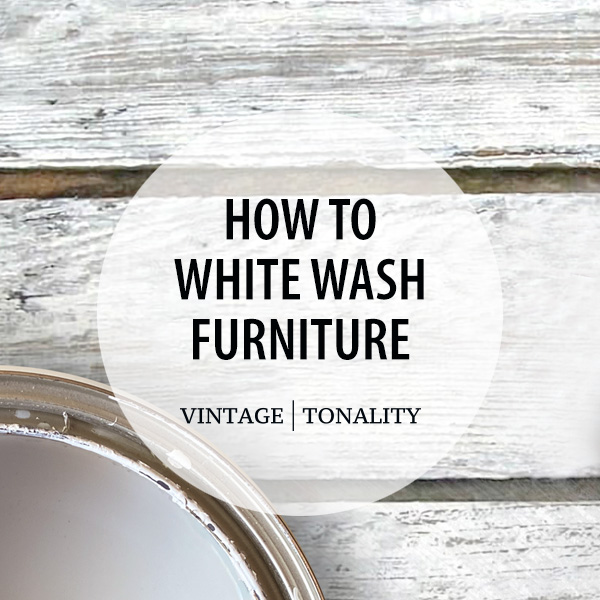
How to: Smooth Chalk Paint Finish If you love the look of chalk painted furniture, but want a smoother, more modern finish with minimal brush strokes.

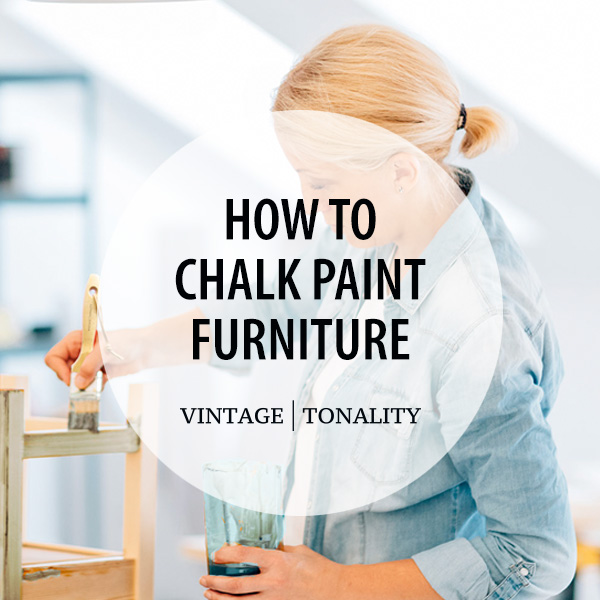
Chalk Painting 101: For Beginners Chalk painting tips for beginners that will help you better understanding the process of painting furniture.

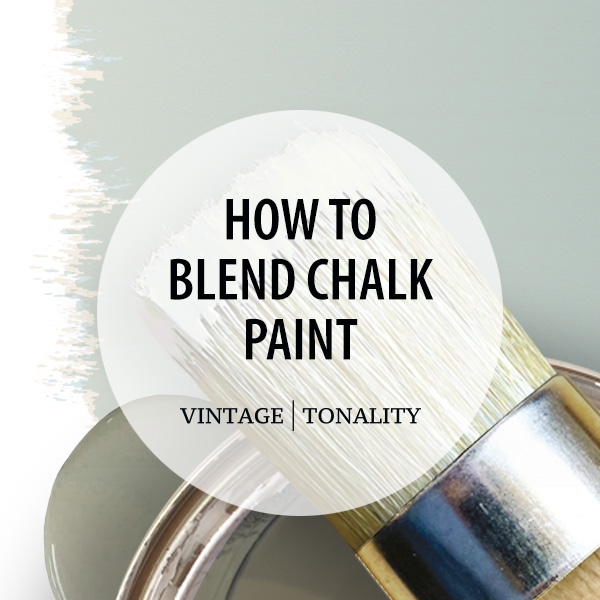
How to: Chalk Paint Recipe For those who appreciate the vintage, soft, matte look and feel of chalk paint, but don’t love the price.
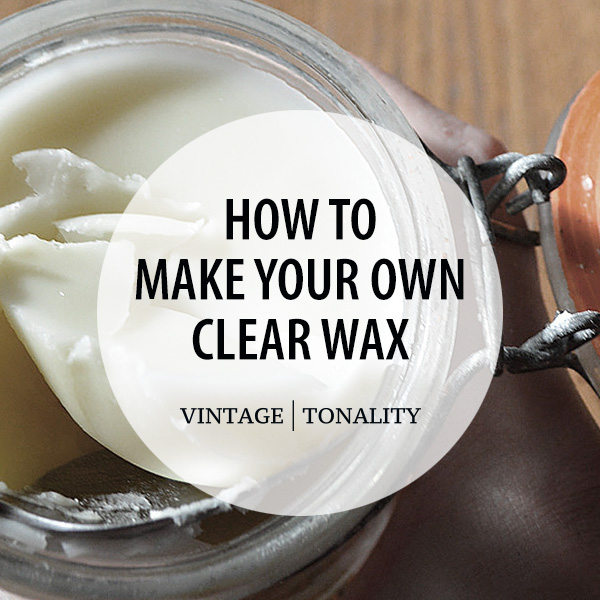
How to: Make Your Own Soft Wax Make your own custom DIY clear wax for less than 80% of the price of well known brands, using non-toxic ingredients.
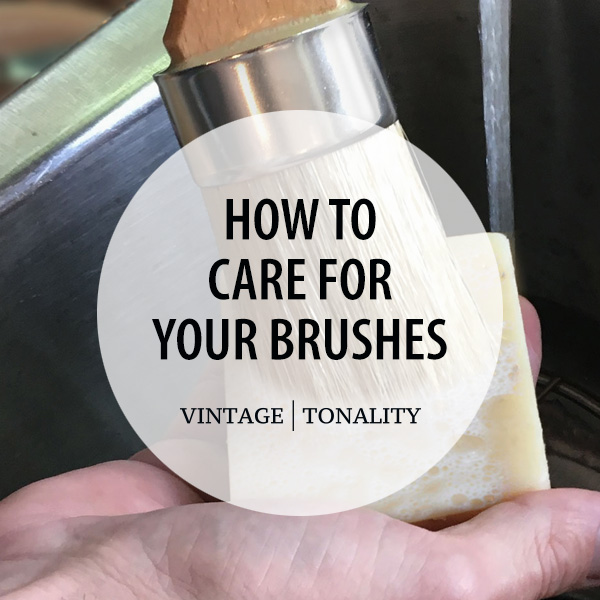
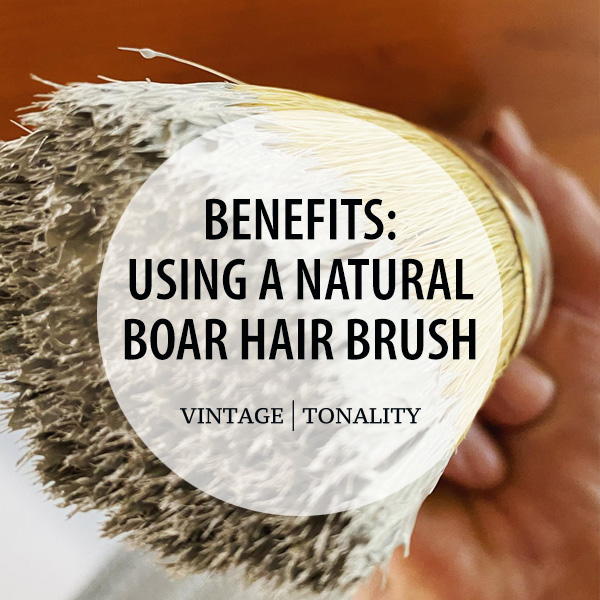
How to: Care For Your Brushes Your natural bristle brushes are an investment and you want to learn how to properly care for them.
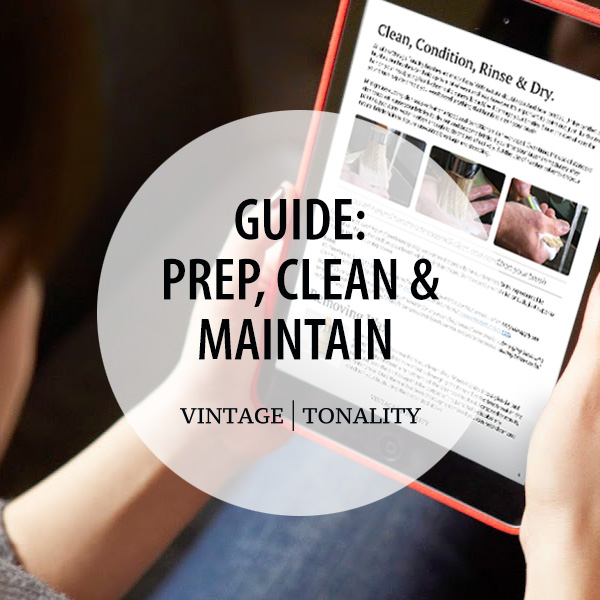
Prep, Clean & Maintain Your Brushes This exclusive ebook guide is available to customers who have purchased one of our brushes. Includes bonus Tips & Tricks.
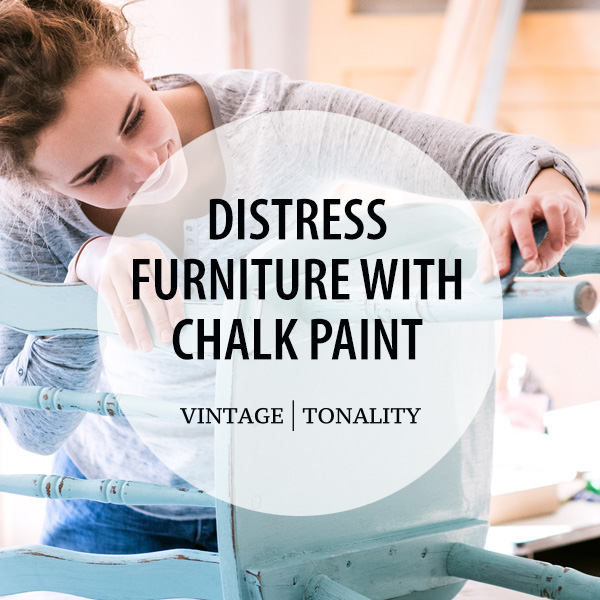
Distress Furniture With Chalk Paint In this comprehensive guide, we'll walk you through the process of distressing furniture with chalk paint, from start to finish.
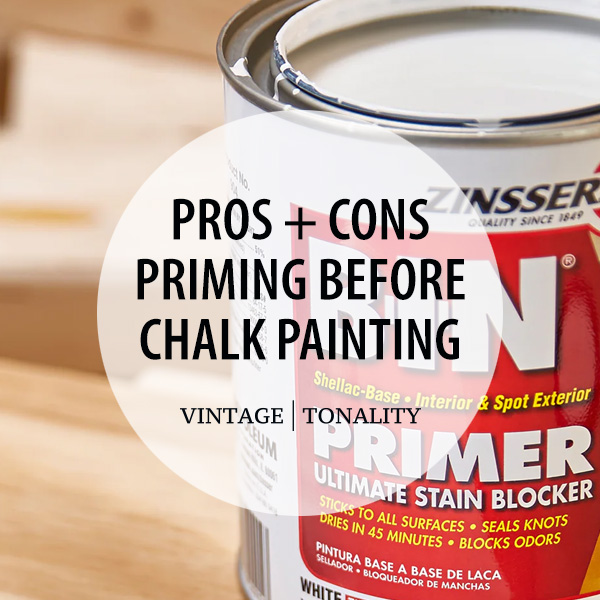
Priming Before Chalk Painting Understanding the pros and cons of priming before chalk painting furniture and understanding bleed-through solutions.

Clean Chalk Paint Brushes How to properly clean chalk paint brushes after each use to maintain their quality and prolong their lifespan.


© 2015 - 2026 Vintage | Tonality® - All rights reserved. Any unauthorized use, such as distributing, copying, modifying, or reprinting, is not permitted.
Site content protected by: Digital Millennium Copyright Act
/ also found at these great locations /


© 2026 All rights reserved. Vintage Tonality® is a registered trademark in the US & UK.
![]()
Vintage | Tonality Brand
AFFILIATES | RESELLERS | AMBASSADORS