CLOSED June 29 - July 9 ~ All order received during this time period will ship July 10th
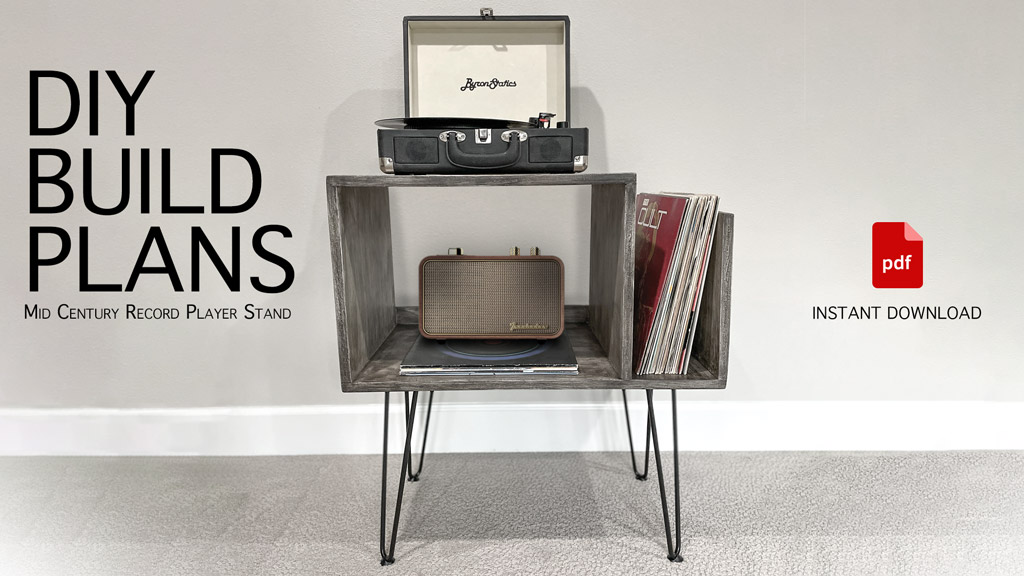
Craft Your Own Mid Century Modern (MCM) Record Player Stand A Step-by-Step Journey
Craft Your Own Mid Century Modern (MCM) Record Player Stand: A Step-by-Step Journey
Building your very own Mid Century Modern (MCM) record player stand is a fun and crafty weekend project. While we won't dive into all the nitty-gritty measurements here, we'll give you a friendly overview of the process. To access the complete build plans, visit our Etsy store for an instant download.
Building your very own Mid Century Modern (MCM) record player stand is a fun and crafty weekend project. While we won't dive into all the nitty-gritty measurements here, we'll give you a friendly overview of the process. To access the complete build plans, visit our Etsy store for an instant download.
Materials Needed
TOOLS
- Table Saw / Skill Saw
- Drill
- Pocket Hole Jig
- Sander
- Brad Nail Gun
- Miter Saw
- Rubber Mallet
SUPPLIES
- Plywood Sheet
- Metal Legs
- Wood Glue
- Wood Filler
- Pocket Hole Screws
- Pocket-Hole Plugs
- Brad Nails
- Sand Paper
- Paint or Stain
- Brushes
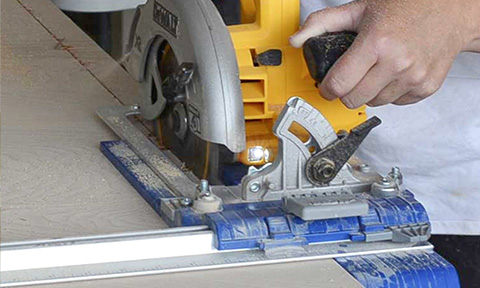
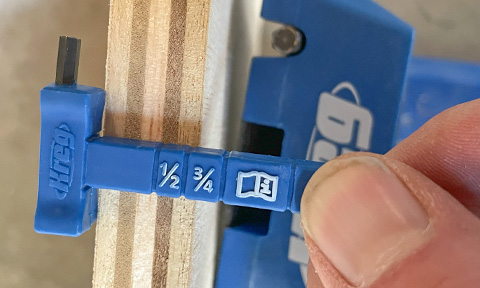
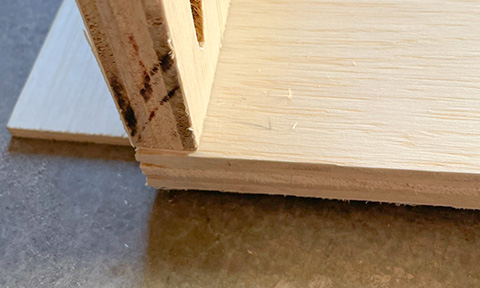
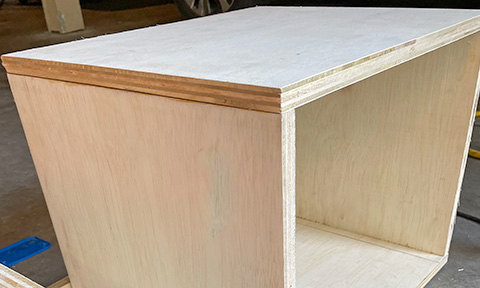
STEP 1: Measure and Cut
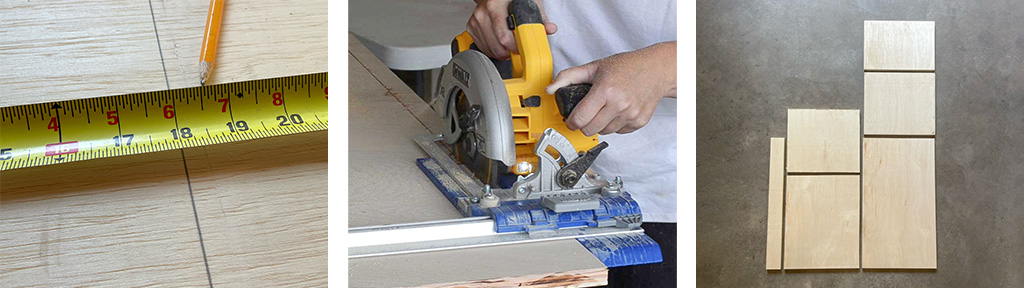
MEASURE + MARK CUT LINES
MAKE YOUR CUTS
SIX (6) CUT PANELS
 MEASURE + MARK CUT LINES
 MAKE YOUR CUTS
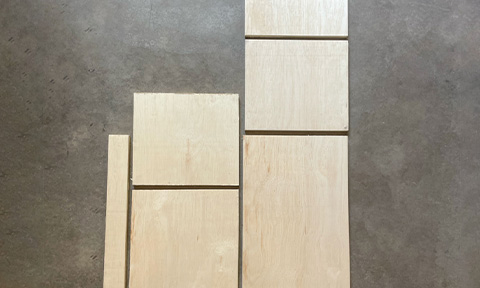 REVIEW CUT PANELS
Begin your project by carefully measuring and cutting your plywood sheet into the necessary six (6) pieces.
- 1x Top Panel
- 1x Bottom Panel
- 2x Side Panels
- 1x End Panel
- 1x Back Support Panel

1X BOTTOM BASE PANEL
1X BACK PANEL
1X TOP PANEL
2X SIDE PANELS
1X END PANEL
Carefully measure and mark your wood pieces according to the build specifications. Use a table saw or skill saw to make your cuts. Ensure all pieces are cut accurately for a sturdy assembly.
Accurate measurements and cuts are crucial. Our detailed build plans on Etsy provide exact dimensions and diagrams to guide you through this step.
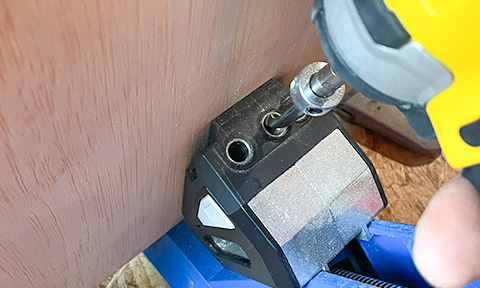
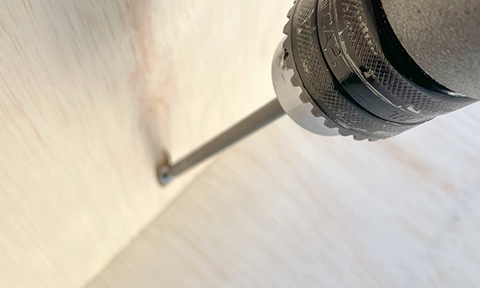
STEP 2: Drilling Pocket Holes
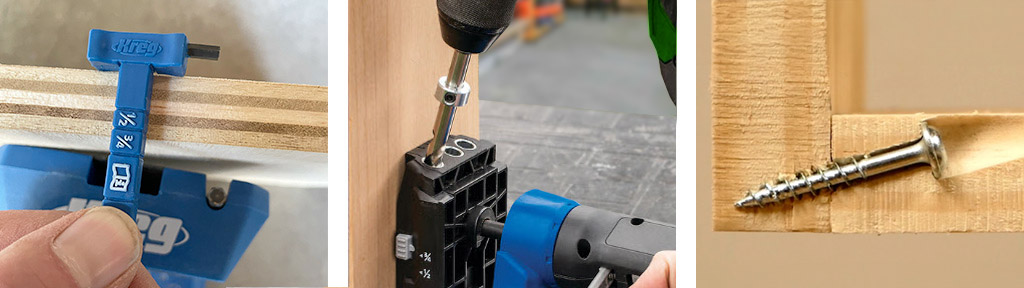
DETERMINE DEPTH OF WOOD
DRILL POCKET HOLES
HOW POCKET HOLES WORK
 DETERMINE DEPTH OF WOOD
 DRILL POCKET HOLES
 HOW POCKET HOLES WORK
Now, use a Kreg pocket hole jig to drill pocket holes into the edges of your panels. This technique allows for strong, hidden joints that keep the focus on your beautiful woodwork. Set your drill bit collar to match the thickness of your material, and ensure your pieces are secure before drilling.

FOR EACH SIDE PANEL / DRILL 3 POCKETS ON EACH END
NOTE: END PANEL / DRILL 3 POCKETS ON JUST ONE END
For comprehensive instructions on pocket hole placement and best practices, check out our full guide available on Etsy
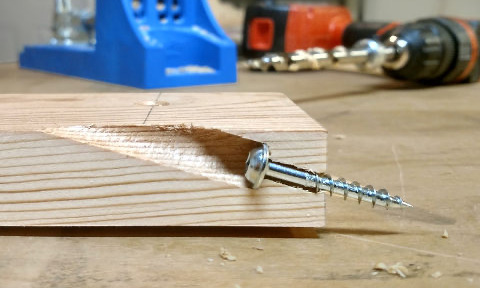
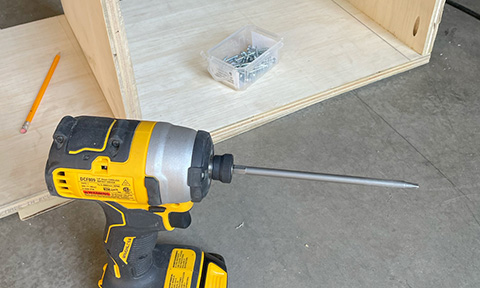
STEP 3: Assemble the Frame
ALIGN PANELS FLUSH
INSERT POCKET HOLE SCREWS
REVIEW YOUR BUILD
 ALIGN PANELS
 ATTACH POCKET HOLES SCREWS
 REVIEW YOUR BUILD
With your pocket holes drilled, it’s time to start assembling the frame. Apply wood glue to the edges of your panels and join them using pocket hole screws. Use wood clamps to hold the pieces together while the glue dries, ensuring the joints are perfectly aligned.

1) ATTACH FIRST SIDE PANEL TO TOP PANEL
2) REPEAT STEP ON THE OTHER SIDE USING THE LAST SIDE PANEL

3) FLIP THE ATTACHED PANELS OVER AND POSITION ON BOTTOM PANEL
4) SECURE EACH SIDE TO THE BOTTOM PANEL
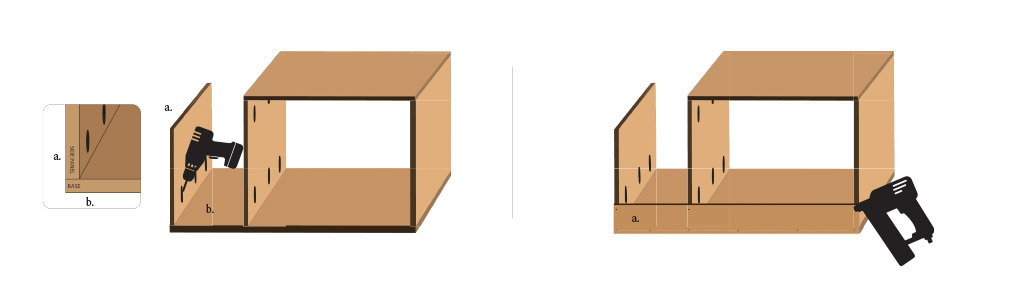
5) ATTACH END PANEL
6) ATTACH BACK SUPPORT PANEL WITH BRAD NAILS
Proper assembly is key to a stable and attractive final product. Our detailed build plans include step-by-step instructions and illustrations to help you achieve perfect alignment.
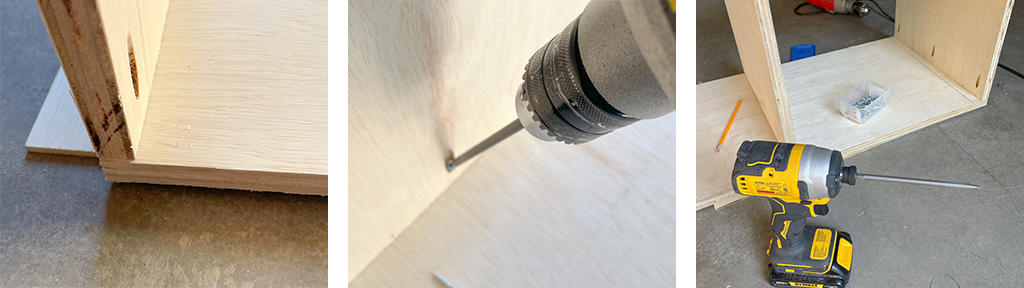
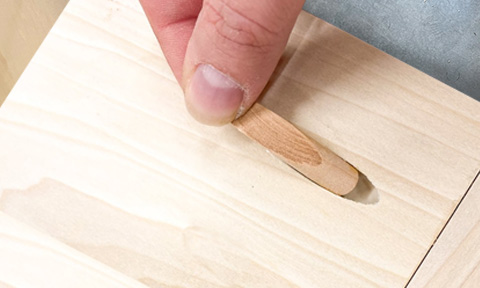
STEP 4: Cover Pocket Holes
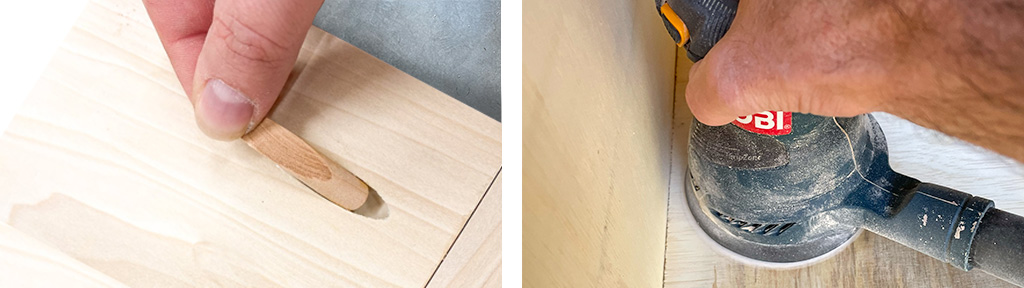
INSERT POCKET HOLE PLUGS
PREP FOR PAINTING OR SANDING
 INSERT KEYHOLE PLUGS
 PREP FOR PAINTING/SANDING
After assembling the frame, cover the pocket holes with plugs. Apply wood glue inside the pocket holes, insert the plugs, and gently tap them in with a rubber mallet. Once the glue is dry, sand the plugs flush with the surrounding surface to achieve a seamless look.
This step adds a professional touch to your project. Learn more about the finishing details in our Etsy guide.
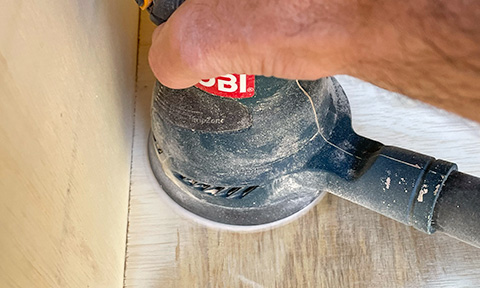
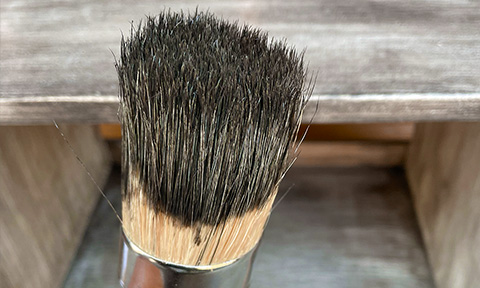
STEP 5: Prep and Sand
Before applying your chosen finish, fill any gaps, holes, or cracks with wood filler and allow it to dry. Sand the entire piece, starting with a coarse grit and gradually moving to a finer grit. This ensures a smooth, even surface that will beautifully accept paint or stain.
Sanding can be a meditative process, transforming your work from rough cut wood to a sleek piece of furniture. For more sanding tips and tricks, refer to our complete build plans on Etsy.
STEP 6: Paint and Stain
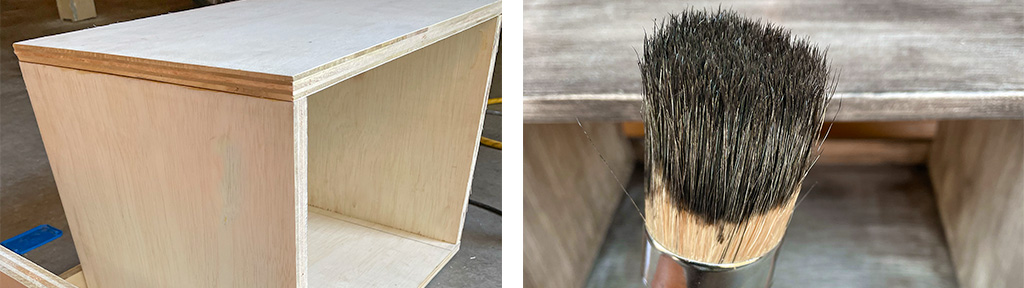
ENVISION YOUR DESIRED LOOK + FEEL
BEGIN PAINTING/STAINING PROCESS
 ENVISION YOUR DESIRED LOOK + FEEL
 BEGIN PAINTING/STAINING PROCESS
Now, the fun part begins—finishing your stand. Whether you prefer a vibrant paint color or a natural wood stain, the choice is yours. Apply your finish evenly using quality brushes, and follow the proper steps for priming, coating, and sanding between layers.
Our Etsy build plans offer detailed advice on selecting and applying finishes to achieve the look you desire.
STEP 7: Attaching the Legs
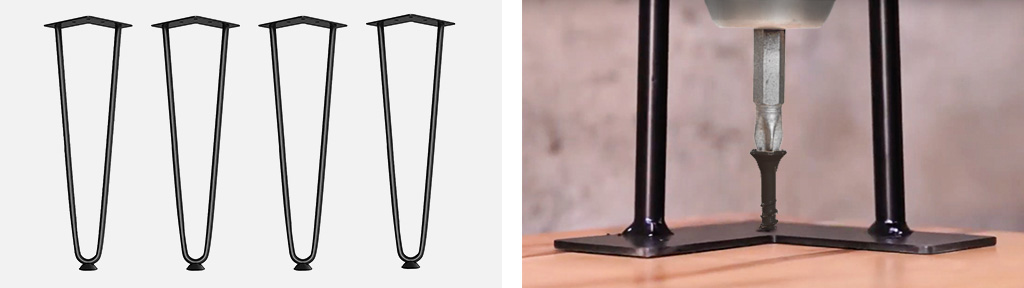
SELECT YOUR LEGS
INSTALL LEGS
Finally, attach the metal hairpin legs to your stand. Position them at each corner of the base, mark the screw holes, and pre-drill pilot holes. Secure the legs with screws, ensuring they are firmly attached for stability.
Choosing the right legs can elevate the overall aesthetic of your stand. For more insights on leg selection and installation, see our full guide on Etsy.
Enjoy the music and the sense of accomplishment that comes with creating your own custom furniture piece.
Conclusion:
Building a mid-century modern record player stand is a project that not only enhances your home decor but also provides a functional solution for your vinyl storage needs. By following these steps and utilizing our complete build plans, you can confidently tackle this project and create a stunning piece of furniture.
For detailed diagrams, precise measurements, and additional tips, visit our Etsy shop to purchase the full build plans. Start your DIY journey today and enjoy the satisfaction of creating a custom-built record player stand that reflects your personal style and craftsmanship.
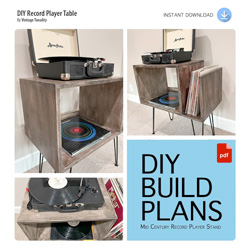
INSTANT ETSY DOWNLOAD: Step-by-step guide to building a Mid Century Modern record player and vinyl storage table. Combine vintage charm and practicality as you craft a stylish and functional piece that showcases your vinyl collection.
This DIY build includes the 26W x 28.25H x 15.625D record player stand table construction plan. With all the information we give you, you can build it yourself and enjoy the sounds of your favorite vinyls.
PDF File Content: 18+ Pages, Material List, Tool List, Cut Diagrams, Images, 3D Diagrams, Step-by-Step Construction Process
AVAILABLE ON

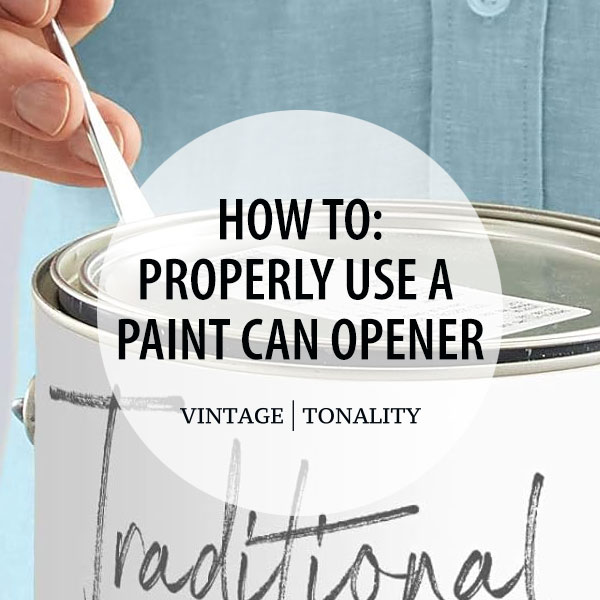
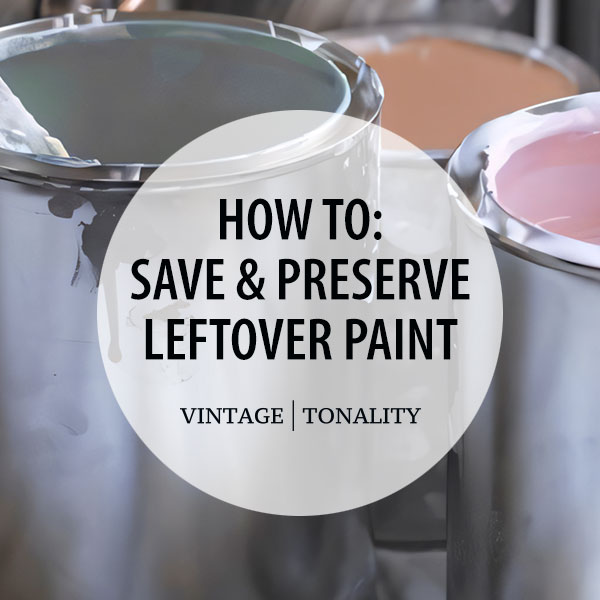
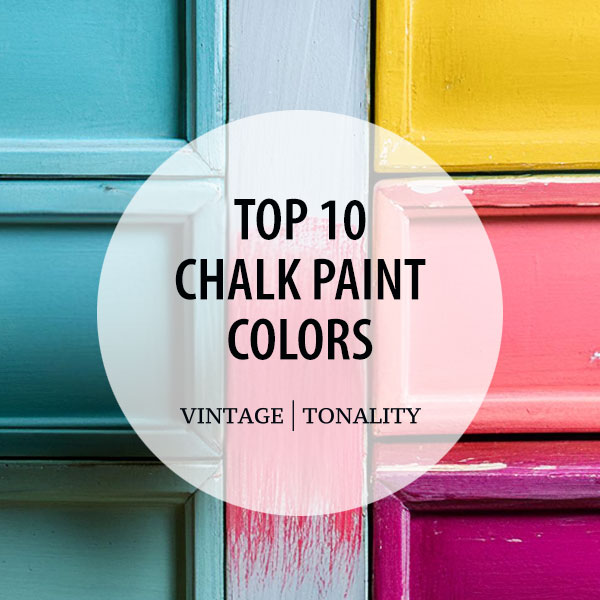
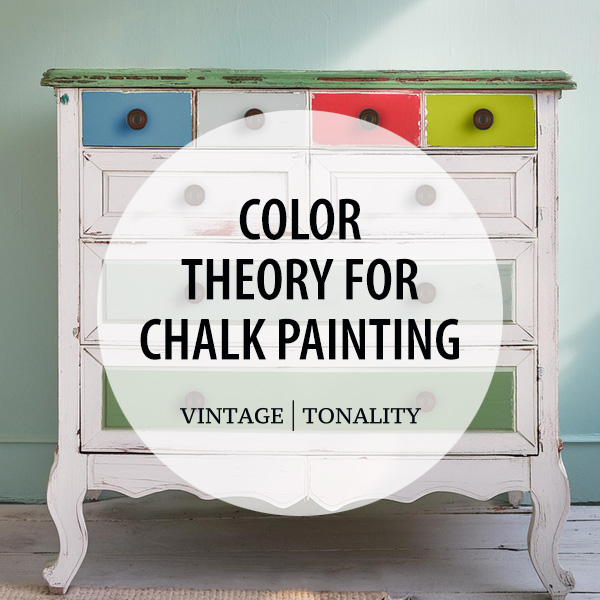
More: Articles + Guides
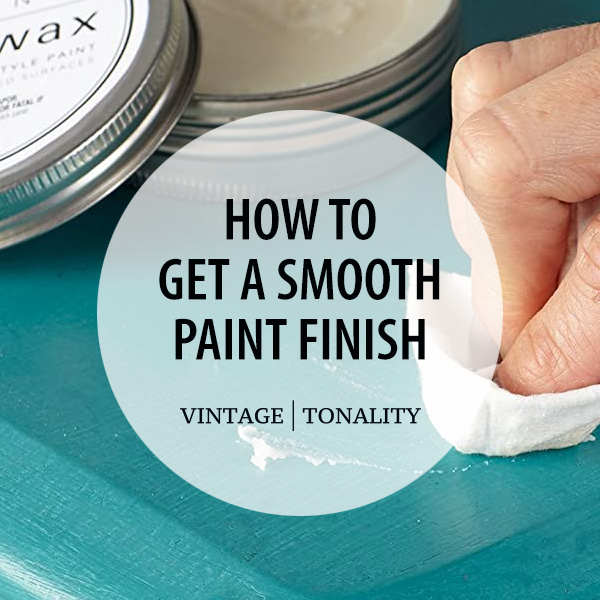
How to: Smooth Chalk Paint Finish If you love the look of chalk painted furniture, but want a smoother, more modern finish with minimal brush strokes.

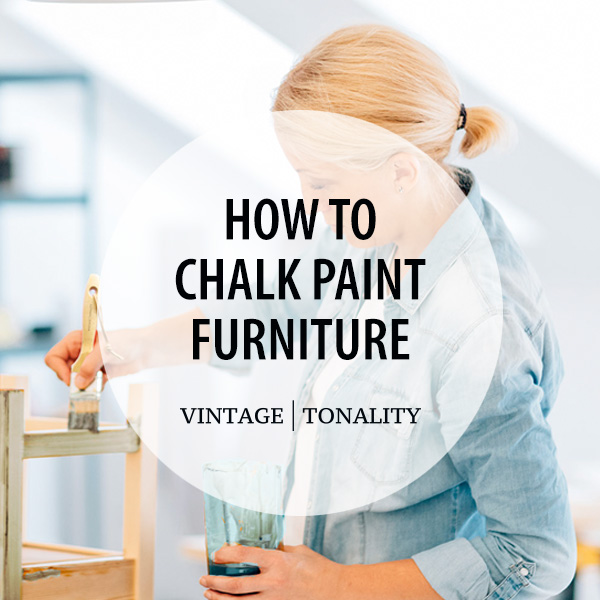
Chalk Painting 101: For Beginners Chalk painting tips for beginners that will help you better understanding the process of painting furniture.

How to: Chalk Paint Recipe For those who appreciate the vintage, soft, matte look and feel of chalk paint, but don’t love the price.
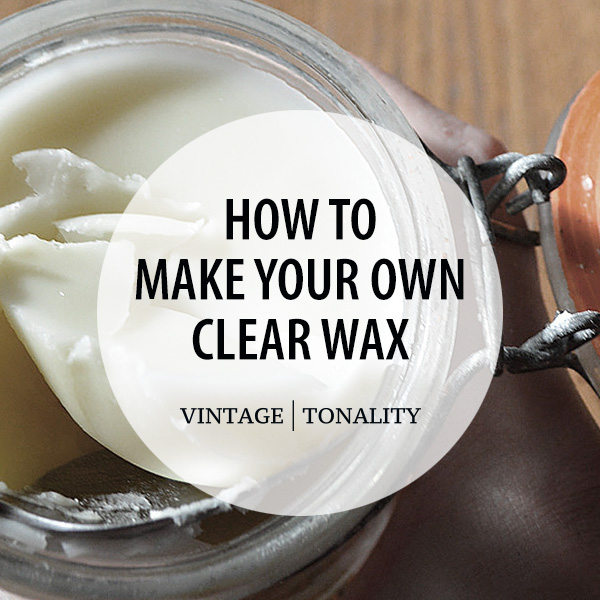
How to: Make Your Own Soft Wax Make your own custom DIY clear wax for less than 80% of the price of well known brands, using non-toxic ingredients.
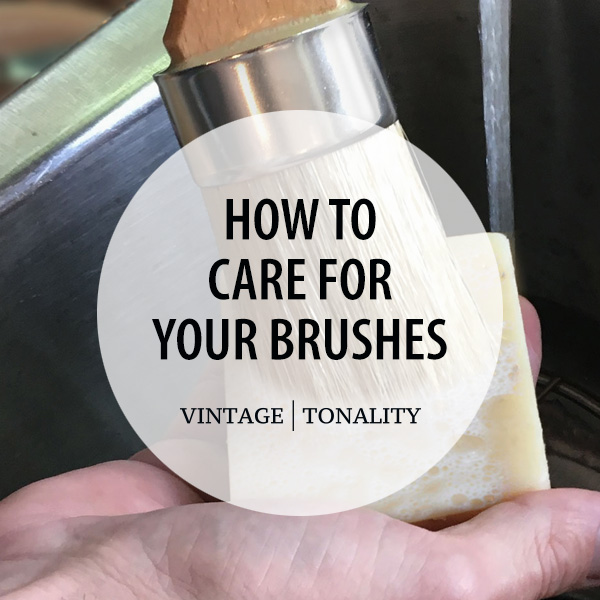
How to: Care For Your Brushes Your natural bristle brushes are an investment and you want to learn how to properly care for them.
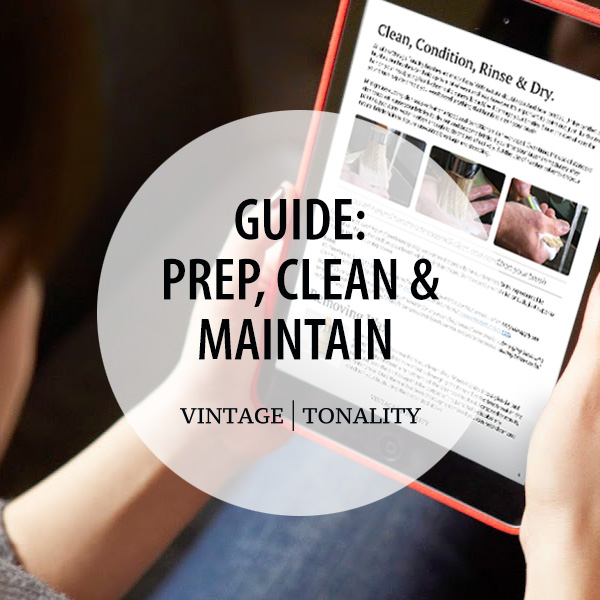
Prep, Clean & Maintain Your Brushes This exclusive ebook guide is available to customers who have purchased one of our brushes. Includes bonus Tips & Tricks.
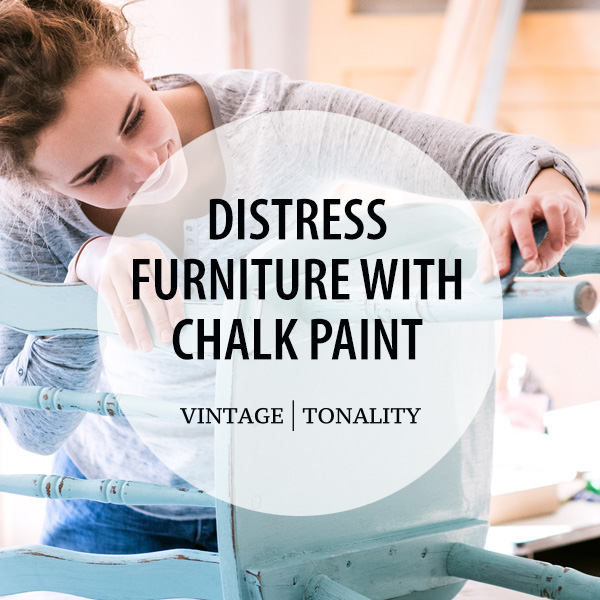
Distress Furniture With Chalk Paint In this comprehensive guide, we'll walk you through the process of distressing furniture with chalk paint, from start to finish.
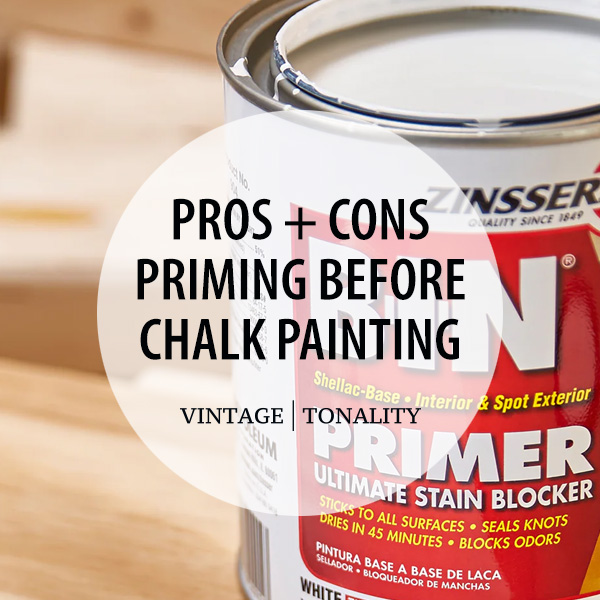
Priming Before Chalk Painting Understanding the pros and cons of priming before chalk painting furniture and understanding bleed-through solutions.

Clean Chalk Paint Brushes How to properly clean chalk paint brushes after each use to maintain their quality and prolong their lifespan.


© 2015 - 2026 Vintage | Tonality® - All rights reserved. Any unauthorized use, such as distributing, copying, modifying, or reprinting, is not permitted.
Site content protected by: Digital Millennium Copyright Act
/ also found at these great locations /


© 2026 All rights reserved. Vintage Tonality® is a registered trademark in the US & UK.
![]()
Vintage | Tonality Brand
AFFILIATES | RESELLERS | AMBASSADORS