CLOSED June 29 - July 9 ~ All order received during this time period will ship July 10th
Tips for Preventing Chalk Paint Peeling & Chipping 9-Step Guide to Long-Lasting Finishes
Tips for Preventing Chalk Paint Peeling & Chipping 9-step guide to long-lasting finishes
Chalk paint has become a popular choice for furniture makeovers, offering a unique matte finish and easy application. However, one common issue users encounter is chipping and peeling. In this guide, we'll explore effective tips to prevent chalk paint from chipping and peeling, ensuring your projects stand the test of time.
Chalk paint has become a popular choice for furniture makeovers, offering a unique matte finish and easy application. However, one common issue users encounter is chipping and peeling. In this guide, we'll explore effective tips to prevent chalk paint from chipping and peeling, ensuring your projects stand the test of time.
Step 1: Surface Preparation
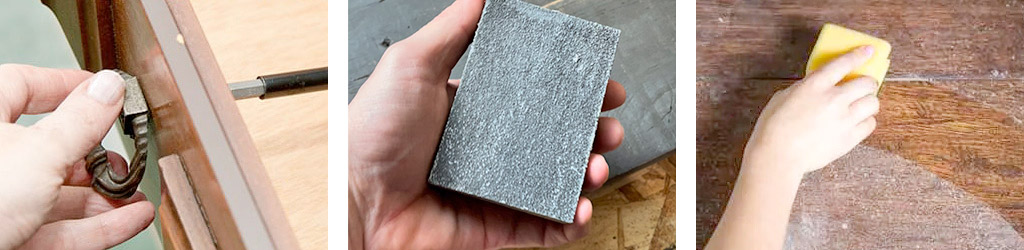
REMOVE HARDWARE FINISHES
SAND SURFACE AREA
CLEAN SURFACE AREA
The key to a durable chalk paint finish lies in proper surface preparation. Clean the furniture thoroughly to remove dust, dirt, and any existing finishes. Sanding helps create a smooth surface for better paint adhesion.
Step 2: Apply a Bonding Primer

Designed to improve paint adhesion to challenging surfaces such as glossy or non-porous materials like metal, tile, glass, or laminate. They contain special adhesion-promoting agents that create a strong bond between the paint and the surface. Bonding primers are particularly useful when you want to ensure that the paint adheres effectively and doesn't peel, chip, or flake over time.
Bonding Primers for Chalk Paint
Check out our article: Pros and Cons of Priming Before Chalk Painting FurnitureThis article provides more indepth information when it comes to priming before chalk painting furniture.
Step 3: Choose Quality Chalk Paint

Invest in high-quality chalk paint for optimal results. Cheaper alternatives may lack the necessary binding agents, leading to adhesion issues and eventual peeling. Choose reputable brands known for their durability.
These brands are recognized for their formulations that enhance adhesion and provide a durable finish, making them suitable choices for various DIY projects.
Step 4: Allow Adequate Drying Time

Allow each coat of chalk paint to dry completely before applying the next. Rushing the process can trap moisture, leading to poor adhesion and peeling. Chalk paint takes only 15-30 minutes to dry to touch, but it needs at least a couple of hours to dry enough before applying a second coat. Follow the recommended drying times specified by the paint manufacturer.
Step 5: Apply Thin Coats

Apply chalk paint in thin, even coats. Thick layers take longer to dry and are more prone to cracking and peeling. Multiple thin coats provide better coverage and flexibility. You can also dilute the paint in a separate container (glass bowl/jar or tin) by adding a little water and/or misting the bristle tips periodically using a spray bottle. This will help them be more pliable and gentle as they lay down the paint.
Step 6: Sand Between Coats
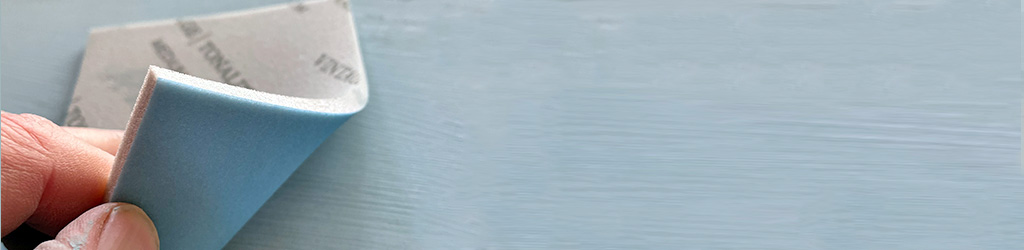
Between each paint coat use a fine grit (220+) sanding paper or sponge and lightly sand over the surface. This step removes imperfections and creates a slightly rough texture for the new layer to grip onto.
Step 7: Seal with Wax or Sealant
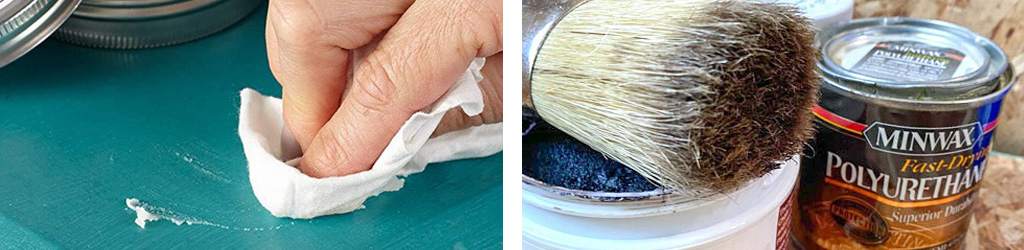
Using a cloth Apply a thin, even coat to the surface of your furniture, working in small sections, applying the wax in a circular motion
USING A BRUSH Apply the wax to your furniture in a thin, even layer, working in small sections, using long, even strokes to apply the wax
After the final coat of chalk paint has dried, seal the surface with wax or a clear sealant. This protective layer adds durability and safeguards against peeling. For waxing chalk paint, allow it to cure, a process that may span from 24 hours to two weeks, influenced by factors like humidity, temperature, material, and other variables. Follow the manufacturer's instructions for proper application.
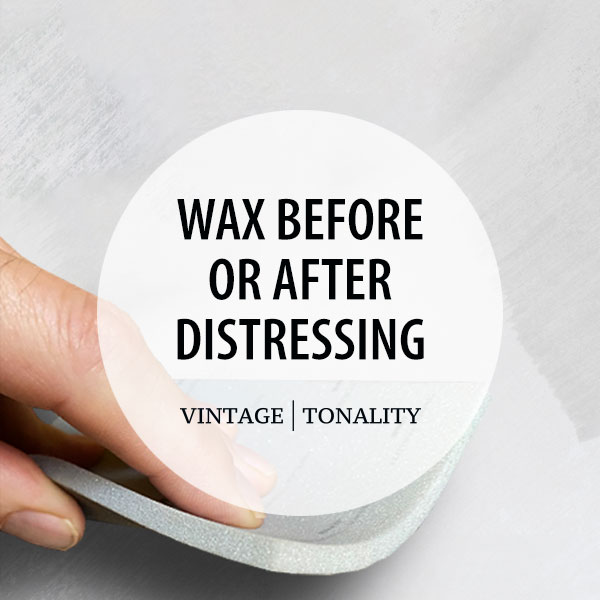
Step 8: Avoid Excessive Distressing
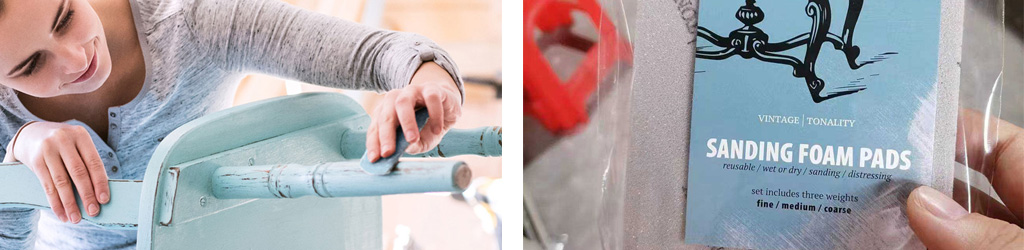
DISTRESS FOR AN ADDED WORN, USED, AND AGED APPEARANCE
SANDING FOAM PADS ARE GREAT TOOLS FOR CREATING THAT DISTRESSED LOOK
While distressing is a popular technique with chalk paint, excessive sanding or scraping can compromise the paint's integrity. Keep distressing moderate to prevent premature peeling.
Check out our recent article: How to Distress Furniture ~ Comprehensive Step-by-Step Guide
Step 9: Climate Considerations
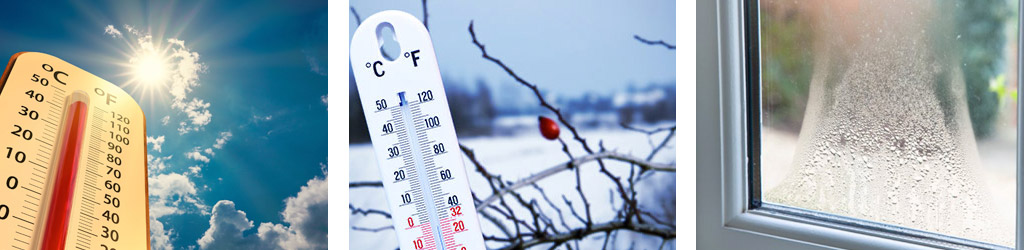
EXCESSIVE HEAT CONDITIONS
PAINT CAN DRY TOO QUICKLY CAUSING UNEVEN APPLICATIONS, BUBBLES AND BLISTERING
PAINT CAN DRY TOO QUICKLY CAUSING UNEVEN APPLICATIONS, BUBBLES AND BLISTERING
EXCESSIVE COLD CONDITIONS
SLOWS DOWN DRYING PROCESS EFFECTING THE ADHESION OF THE PAINT TO THE SURFACE
SLOWS DOWN DRYING PROCESS EFFECTING THE ADHESION OF THE PAINT TO THE SURFACE
HIGH HUMIDITY CONDITIONS
SLOWS DOWN THE EVAPORATION OF EXCESS WATER IN THE PAINT CAUSING POOR ADHESION OF THE PAINT
SLOWS DOWN THE EVAPORATION OF EXCESS WATER IN THE PAINT CAUSING POOR ADHESION OF THE PAINT
Painting in extreme temperatures or high humidity can impact drying times and adhesion. Choose suitable weather conditions for your painting projects to ensure the best results.
In Conclusion:
Preventing chalk paint from chipping and peeling involves a combination of proper preparation, quality materials, and careful application. By following these tips, you can achieve a long-lasting and beautifully finished piece of furniture with chalk paint.
Cheers & Happy Painting!
![]()


More: Articles + Guides
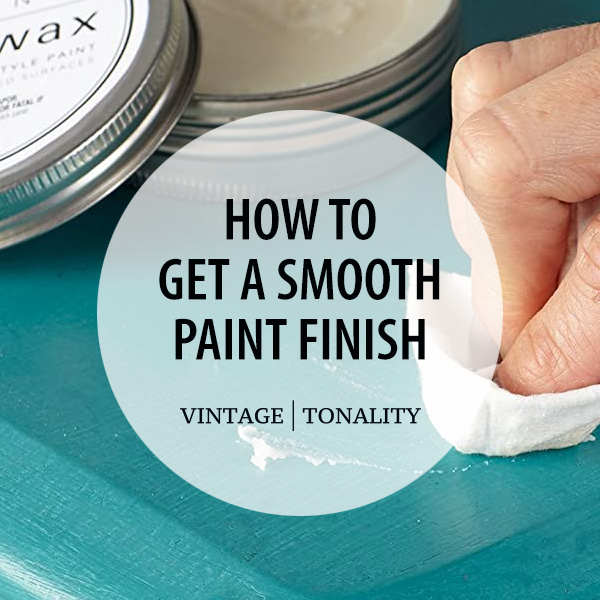
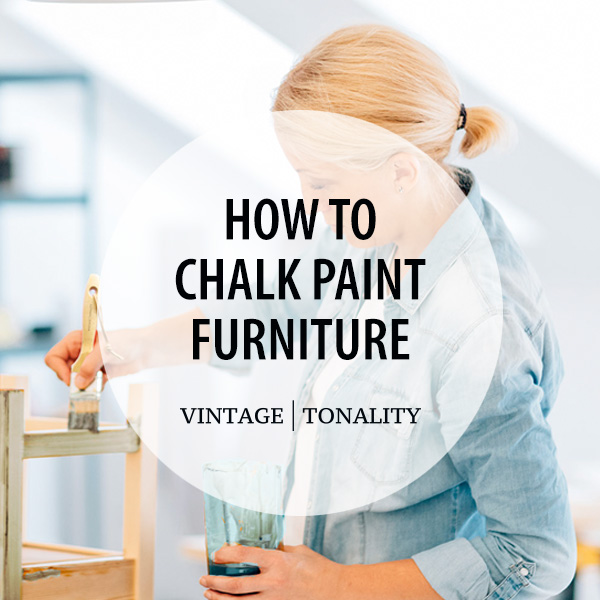
How to: Smooth Chalk Paint Finish If you love the look of chalk painted furniture, but want a smoother, more modern finish with minimal brush strokes.

Chalk Painting 101: For Beginners Chalk painting tips for beginners that will help you better understanding the process of painting furniture.

How to: Chalk Paint Recipe For those who appreciate the vintage, soft, matte look and feel of chalk paint, but don’t love the price.
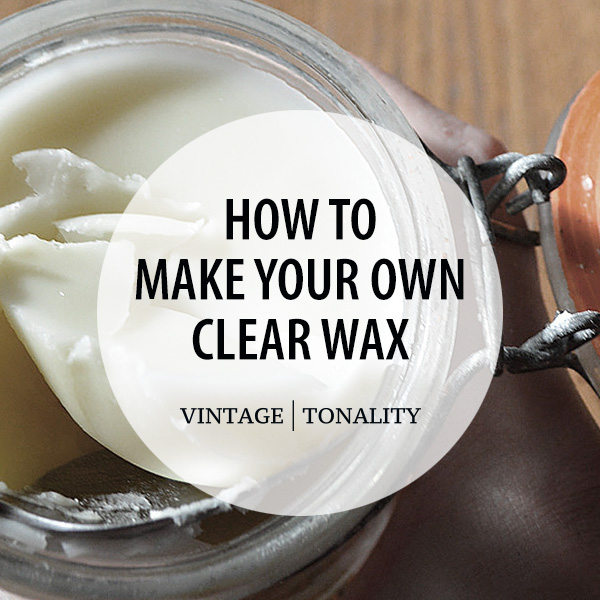
How to: Make Your Own Soft Wax Make your own custom DIY clear wax for less than 80% of the price of well known brands, using non-toxic ingredients.
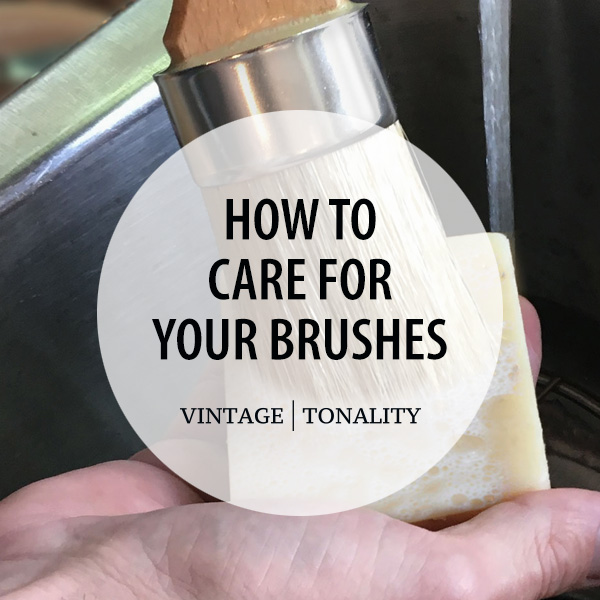
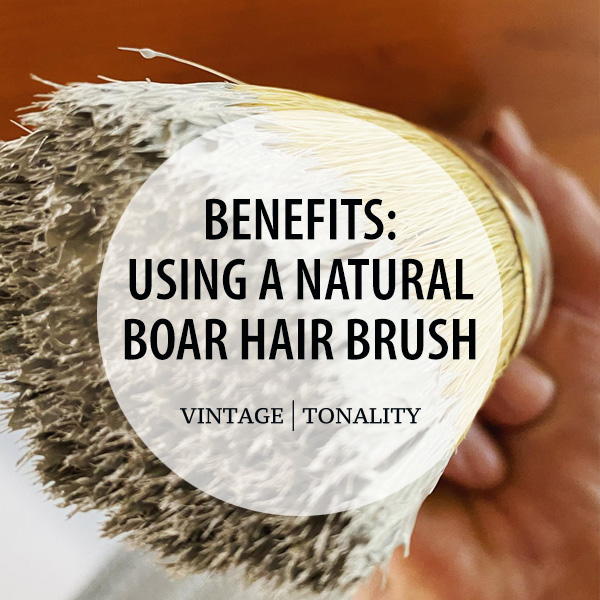
How to: Care For Your Brushes Your natural bristle brushes are an investment and you want to learn how to properly care for them.
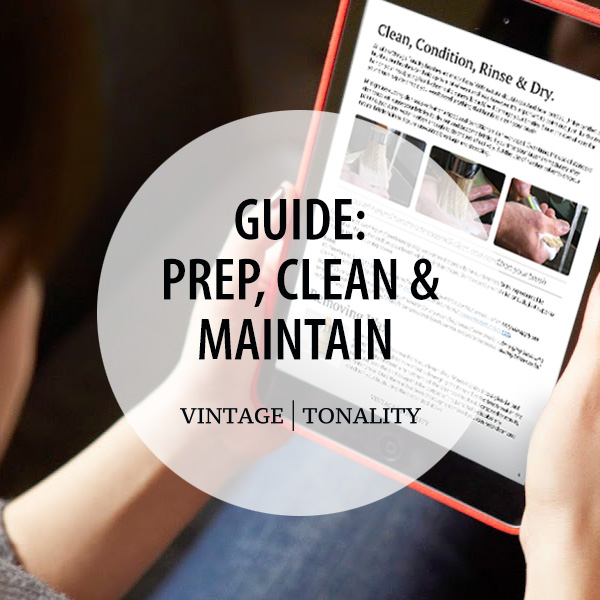
Prep, Clean & Maintain Your Brushes This exclusive ebook guide is available to customers who have purchased one of our brushes. Includes bonus Tips & Tricks.
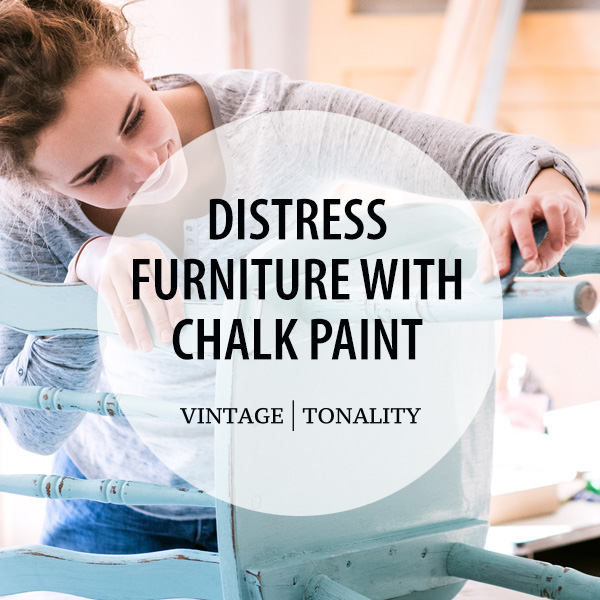
Distress Furniture With Chalk Paint In this comprehensive guide, we'll walk you through the process of distressing furniture with chalk paint, from start to finish.
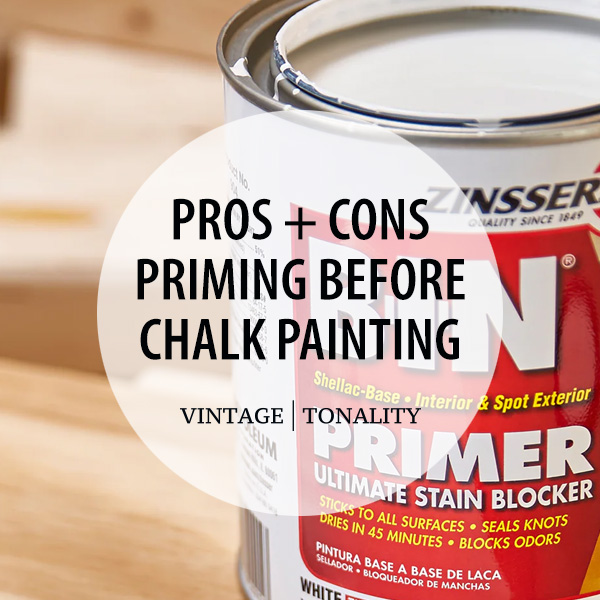
Priming Before Chalk Painting Understanding the pros and cons of priming before chalk painting furniture and understanding bleed-through solutions.

Clean Chalk Paint Brushes How to properly clean chalk paint brushes after each use to maintain their quality and prolong their lifespan.


© 2015 - 2026 Vintage | Tonality® - All rights reserved. Any unauthorized use, such as distributing, copying, modifying, or reprinting, is not permitted.
Site content protected by: Digital Millennium Copyright Act
/ also found at these great locations /


© 2026 All rights reserved. Vintage Tonality® is a registered trademark in the US & UK.
![]()
Vintage | Tonality Brand
AFFILIATES | RESELLERS | AMBASSADORS