CLOSED June 29 - July 9 ~ All order received during this time period will ship July 10th
Chalk Paint Blending Techniques A Beginner's Guide to Furniture Finishes
Chalk Paint Blending Techniques - A Beginner's Guide to Furniture Finishes
This guide is tailored for beginners, providing a introduction to the painting technique of blending chalk paints on furniture, while offering valuable tips and insights to ensure you achieve stunning, professional-quality finishes on your furniture projects.
This guide is tailored for beginners, providing a introduction to the painting technique of blending chalk paints on furniture, while offering valuable tips and insights to ensure you achieve stunning, professional-quality finishes on your furniture projects.
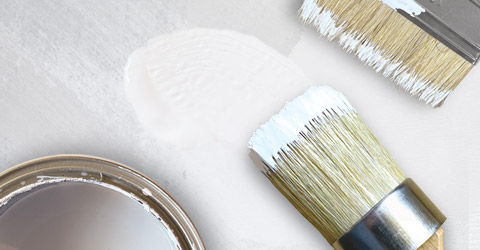
Section 1: Blending Overview
When blending colors with chalk paint, the blending technique involves seamlessly mixing two or more hues on the surface of your project. This is typically achieved by applying the colors in close proximity and using various brush strokes to create a smooth transition between them. In this article and beginner's guide we will be covering three blending techniques: Wet Blending, Dry-Brush Blending, and Feathering Blending.
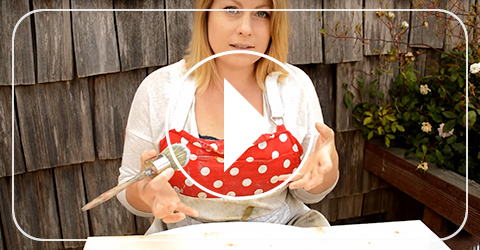
Section 2: Tools and Materials
Before diving into the blending process, it's crucial to assemble the necessary tools and materials. Here's what you'll need:
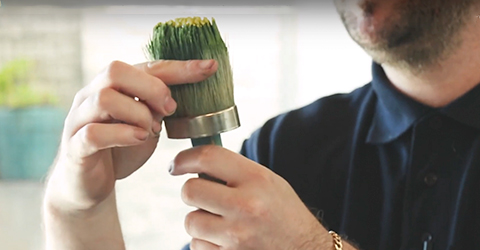
Quality Brushes Opt for natural bristle brushes for better control and blending precision. The type of brush can influence the overall texture and finish of the blend.
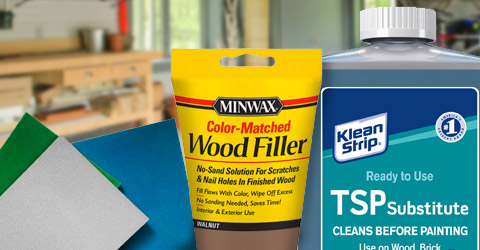
Surface Prep Gather cleaning supplies, sanding materials in various grits, and wood filler for minor repairs.
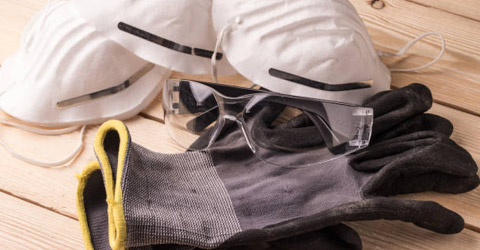
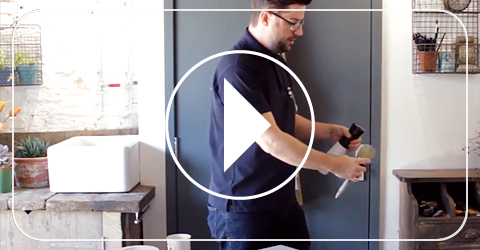
Protective Gear Ensure you have gloves, safety goggles, and work in a well-ventilated area to safeguard your health.
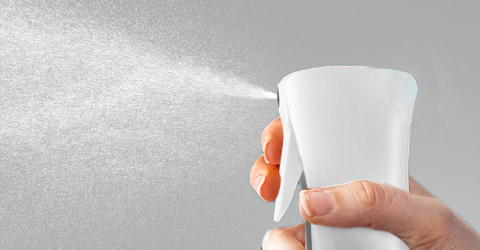
Misting Spray Bottle Include a misting spray bottle to keep the bristles damp during the blending process.
Section 3: Prepping Your Furniture
Proper preparation is key to achieving a flawless blend. Follow these steps:
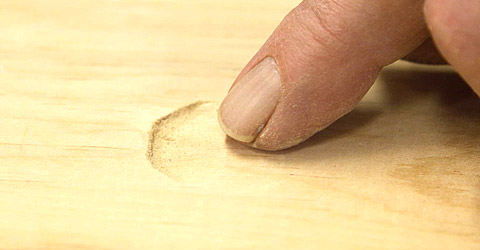
Inspect Surface Carefully examine the furniture for imperfections, like dings, dents, or uneven areas. Address any issues with appropriate fillers or putty.
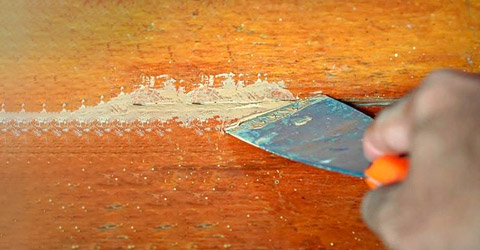
Minor Repairs Use wood filler to repair small imperfections. Sand the surface once the filler has dried to create an even canvas.
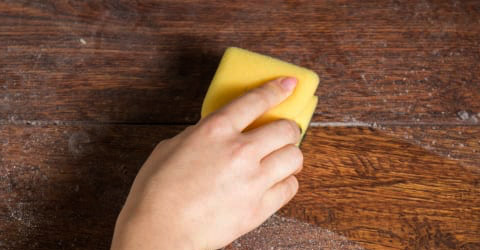
Cleaning + Degreasing Thoroughly clean the surface to remove dirt, grease, and any residue. This ensures proper paint adhesion and a smooth finish.
Section 4: Basic Blending Techniques
Blending chalk paint involves several techniques, each offering a unique effect. Let's explore them in detail:
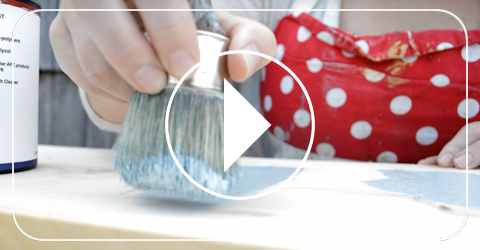
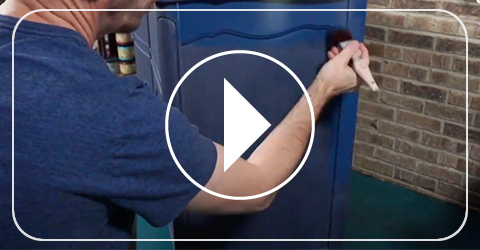
1. Wet Blending
Wet blending is a dynamic technique that allows colors to mix directly on the surface. Here's how to execute it effectively:
Use a Misting Spray Bottle With a dry brush lightly mist the bristles with water before and during the blending process. This keeps the paint from dragging over the surface, allowing for better color mixing and smoother transitions.
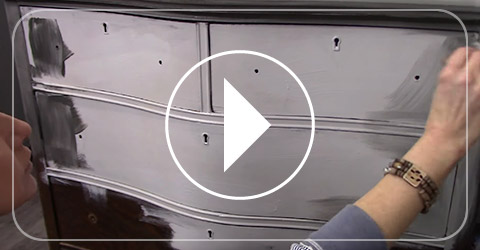
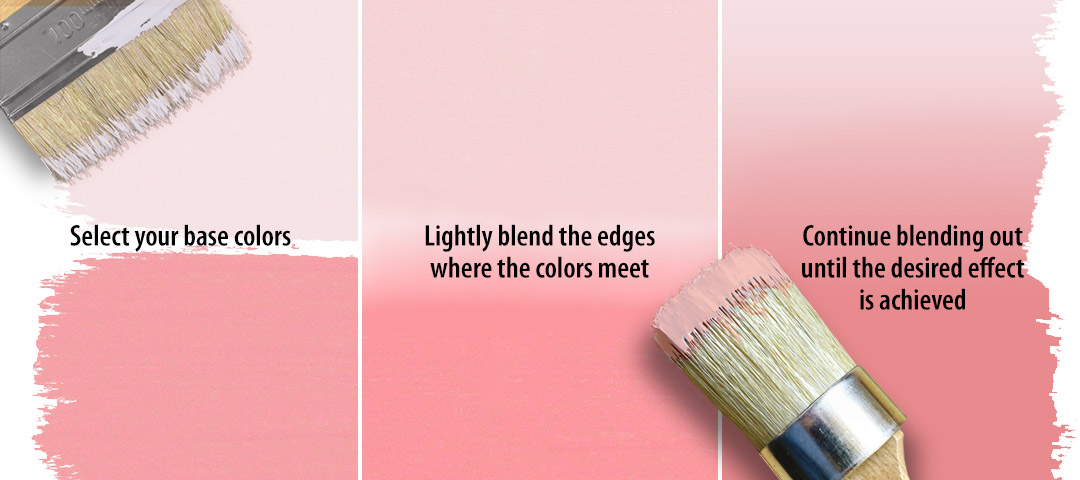
Apply Base Colors With a clean brush, start by applying your first coat of your base colors over the furniture's surface. With the first coat, play with your colors and don't worry exactly how the transitions and smoothness of color(s) are coming together. Focus more on where you want your color tones to be. For beginners, we recommend keeping a separation (gap) between the colors before blending.
Blending the Colors Begin by lightly blending the edges where the colors meet. Start just below the separation of colors to give your some room to blend and with light back-and-forth brush strokes work towards and through to the adjoining color a little bit at a time. As you move over the second color release the brush pressure as if you were going to tickle someone with your brush. Remember to keep the bristles damp, allowing the paints to mix naturally. If you feel the brush dragging across the surface dampen the bristles some more with your misting bottle. This allows for smoother transitions between shades. Repeat this step until you get the desired results.
Making Adjustments If the blend doesn't achieve the desired richness or seamless look, try lightly misting the bristles and/or adding a touch more color to the brush tip. Then, continue the blending process with gentle back-and-forth strokes, transitioning smoothly from one color to the next. Keep refining until you achieve the desired effect.
Conclusion: Wet blending creates a smooth, gradual transition between colors, resulting in a seamless, watercolor-like effect.
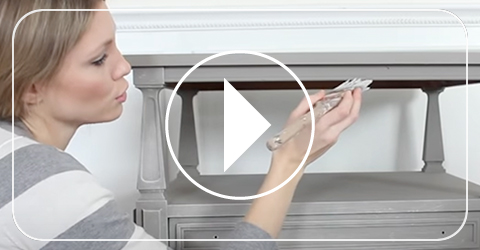
2. Dry Brushing
Dry brushing imparts a distressed, aged look by selectively applying paint to raised surfaces.
• Dry Brushing Basics Using a light touch, gently brush the surface of the piece with the dry brush. Use long strokes that follow the grain of the wood, and be sure to leave some areas of the base coat showing through. This will create a subtle, textured effect.
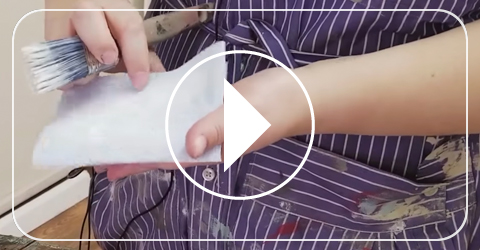
• Loading EssentialsBegin by loading your brush with a modest amount of paint. Then, gently remove any excess on a paper towel until the brush is almost dry to the touch. This ensures a controlled application, allowing you to achieve the desired dry brush effect.
• Build Gradually Don't hesitate to explore and refine, adding paint incrementally until you achieve the precise level of blending or highlighting you envision. This systematic approach not only allows for a personalized outcome, but also guarantees that every brushstroke is delivered with precision and purpose, resulting in a genuinely distinctive and tailored finished piece.
Check out our article: Dry-Brush with Chalk Paint to add Depth, Texture and DimensionThis article provides more detailed instructions on using the dry brush technique on your next project.
Conclusion: Dry brushing adds character and depth to your furniture piece, giving it a beautifully weathered appearance.
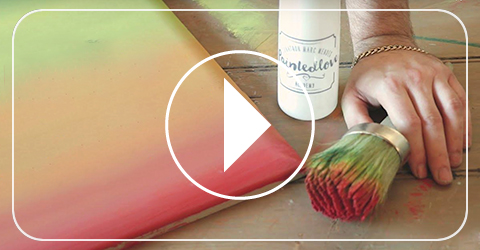
3. Feathering
Feathering is a delicate technique that creates soft, seamless transitions between colors.
• Feathering BasicsFeathering involves creating seamless transitions between colors by gently stroking a brush with soft bristles across the surface. This technique imparts a soft, ethereal quality to the paint, resulting in a subtle gradient effect. Feathering is particularly effective when you want to achieve a smooth and natural blend between different hues.
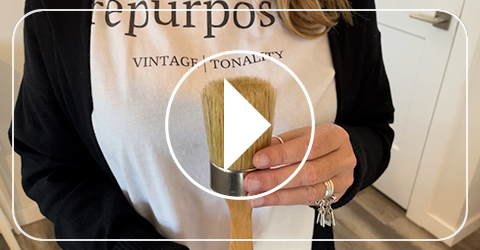
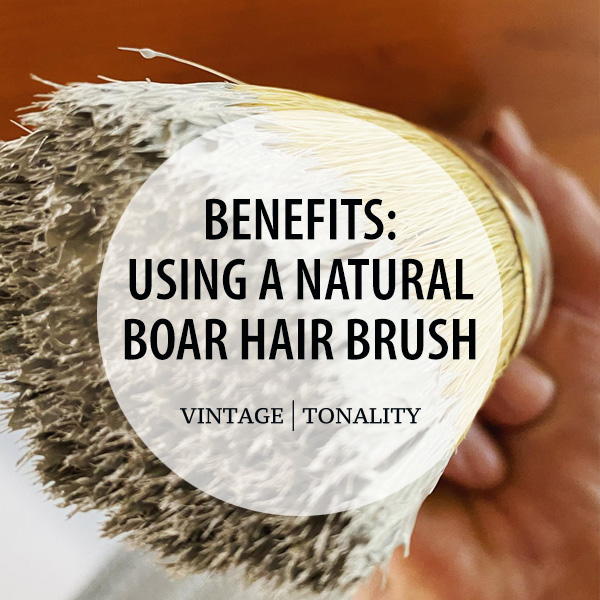
• Your Brush Use a clean, high-quality brush with soft bristles for optimal feathering results. Selecting the right brush is akin to choosing a partner for a dance. Opt for natural bristle brushes, like those from our Vintage Tonality collection. These brushes hold and distribute chalk paint with finesse, ensuring a graceful feathering process. You also might be interested in our article: Benefits of Using a Natural Boar Hair Chalk Paint Brush
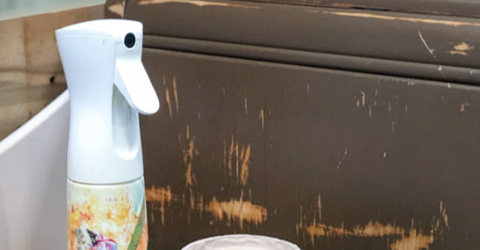
• Spray MistingA misting spray bottle is crucial for blending chalk paint, especially with the feathering technique. It keeps the paint workable for longer, allowing for smoother blending and transitions. The moisture reduces brush drag, minimizing disruptive brush strokes. This tool enhances control, making it easier for beginners to achieve a seamless blend. Additionally, it creates softer and more natural color transitions for a professional finish.
• Your Base ColorsBegin by applying your selected base colors. When incorporating the feathering technique, you have two options: blend it over the existing base coat or apply the colors side-by-side, leaving a slight gap between them. This space acts as a natural transition zone for the colors to seamlessly merge, making it an ideal starting point for beginners. This approach grants you enhanced control over the blending process, which is particularly beneficial as you acquaint yourself with the feathering technique.
• Light, Feathery Strokes With very light pressure and your brush angled up (not straight up and down), lightly brush over the paint in a back-and-forth motion, smoothing out the area where the colors meet and ellimating any heavy strokes. By focusing on the area where the colors meet, using feathery strokes to blur the transition, this creates a subtle gradient effect.
Check out our article: Mastering Feathering Chalk Paint for a Smooth & Artistic FinishThis article breaks down the core feathering techniques in straightforward and easy to understand terms.
Feathering imparts a soft, ethereal quality to your furniture, making it ideal for achieving a smooth, seamless finish.
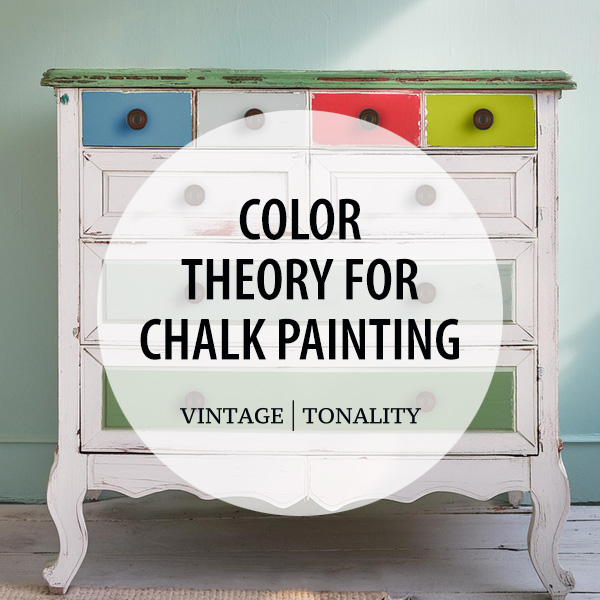
Section 5: Selecting Harmonious Color Palettes
When choosing colors for your blend, consider these tips:

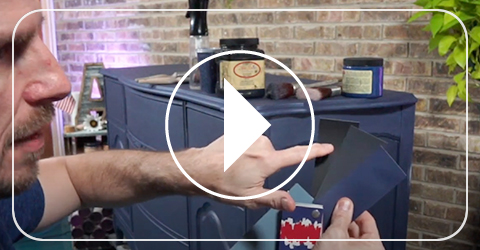
Color Wheel Basics Familiarize yourself with color theory. Complementary and analogous color schemes work well for harmonious blends.

Opt for colors that sit close together on the color wheel The more contrast between colors, the more challenging it becomes to blend them successfully. Start with similar shades and gradually work towards heavier blending and contrast. Choosing three main colors—a base, highlight, and a darker shade for shading—simplifies blending. For instance, blending varying shades of gray is easier than mixing stark black and bright white.

Practical Tips for Color Selection Select colors based on the desired mood and style. If the furniture piece is for your home, consider existing décor and personal preferences to ensure a cohesive look.

New to Color Theory? This beginner-friendly video covers the basics, from primary colors to complementary pairs, while it demystifies the color wheel. Quickly learn how to harness color and combine hues for stunning creations.
Tips: Perfecting Your Chalk Paint Blending Technique
- Proper Preparation is Paramount: Thoroughly inspect and prep your furniture. Address imperfections with fillers and putty, ensuring a smooth canvas for blending.
- Invest in Quality Tools: Ensure you have the right tools, including high-quality brushes and a misting spray bottle. These are essential for achieving professional results.
- Master the Techniques: Understand wet blending, dry brushing, and feathering techniques. Each offers a unique effect, so practice and explore to find the right one for your project.
- Start Small for Big Wins: Begin with a smaller, less valuable piece to practice your blending techniques. This allows you to refine your skills before tackling larger, cherished projects.
- Choose Harmonious Colors: Familiarize yourself with color theory. Opt for colors that sit close together on the color wheel for easier blending. Gradually work towards more contrast as you gain confidence.
- Less is More with Paint: Avoid using too much paint. Applying a modest amount with water maintains maneuverability, ensuring an even dry and preventing an uneven appearance.
- Document and Celebrate Progress: Keep a visual record of your projects to track improvements. Celebrate your successes and learn from any challenges you encounter along the way. This documentation helps you refine your techniques and celebrate your growth as a furniture artist.
Conclusion: Embrace the Journey
Embracing the art of chalk paint blending opens a world of creative possibilities for transforming furniture into stunning, professional-quality pieces. With the techniques, tools, and insights shared in this beginner's guide, you now possess the knowledge to achieve seamless transitions and distinctive finishes. Remember, practice and patience are your greatest allies on this journey. Start with a small project, experiment, and track your progress. Celebrate each success, and learn from every challenge. With dedication, you'll develop an expert eye for color blending and create furniture that stands as a testament to your skill and creativity.
Cheers & Happy Blending!
![]()
Check out our article: How to Prevent Chalk Paint from Chipping and PeelingExplore effective tips to prevent chalk paint from chipping and peeling, ensuring your projects stand the test of time.


More: Articles + Guides
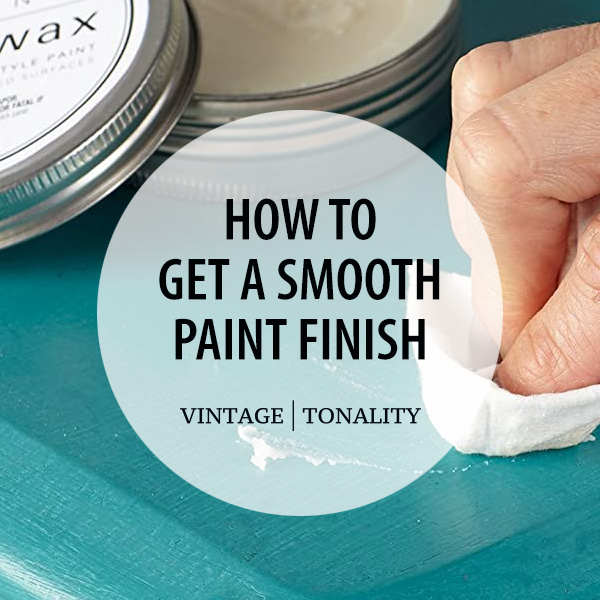
How to: Smooth Chalk Paint Finish If you love the look of chalk painted furniture, but want a smoother, more modern finish with minimal brush strokes.

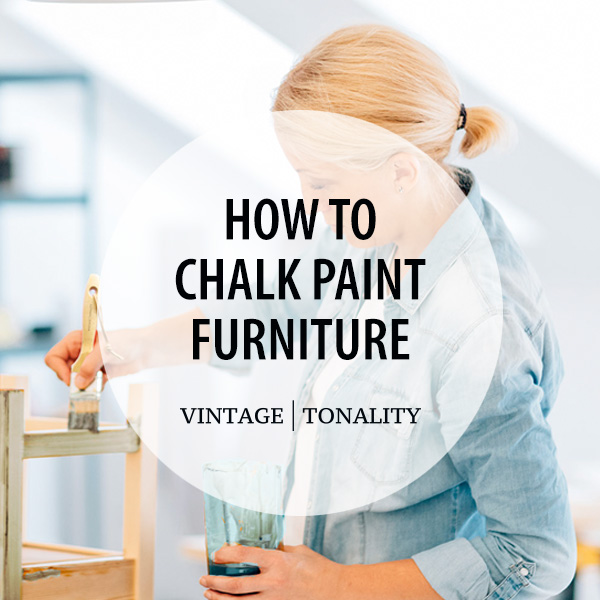
Chalk Painting 101: For Beginners Chalk painting tips for beginners that will help you better understanding the process of painting furniture.

How to: Chalk Paint Recipe For those who appreciate the vintage, soft, matte look and feel of chalk paint, but don’t love the price.
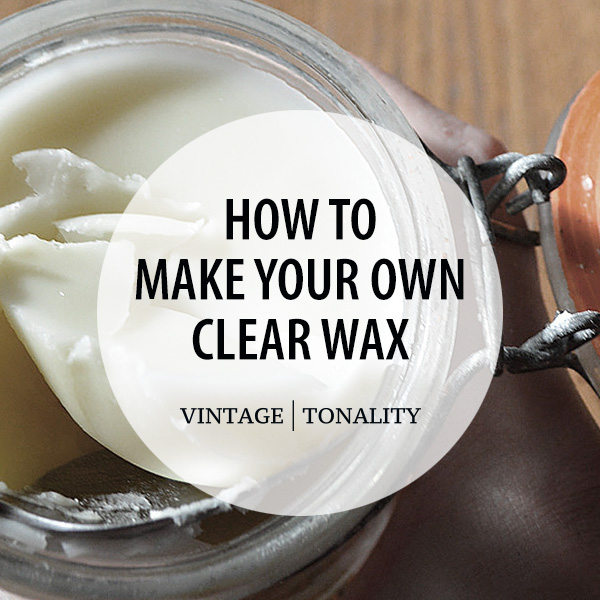
How to: Make Your Own Soft Wax Make your own custom DIY clear wax for less than 80% of the price of well known brands, using non-toxic ingredients.
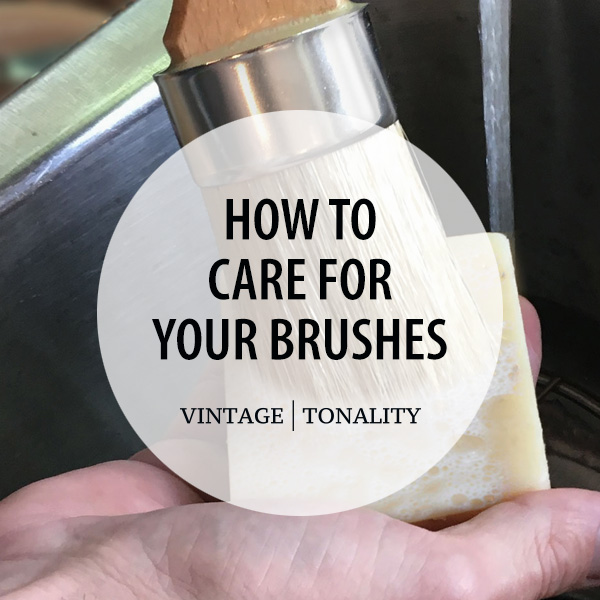
How to: Care For Your Brushes Your natural bristle brushes are an investment and you want to learn how to properly care for them.
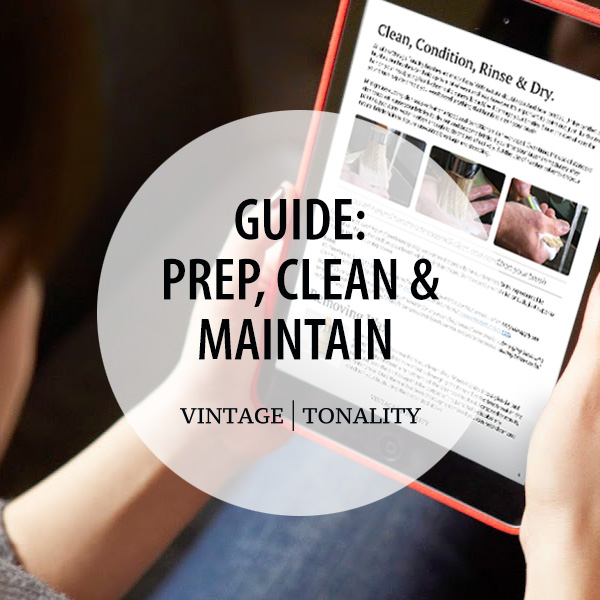
Prep, Clean & Maintain Your Brushes This exclusive ebook guide is available to customers who have purchased one of our brushes. Includes bonus Tips & Tricks.
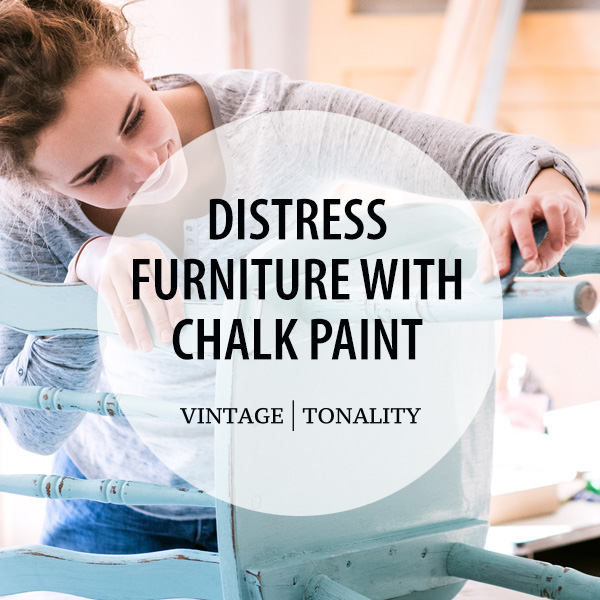
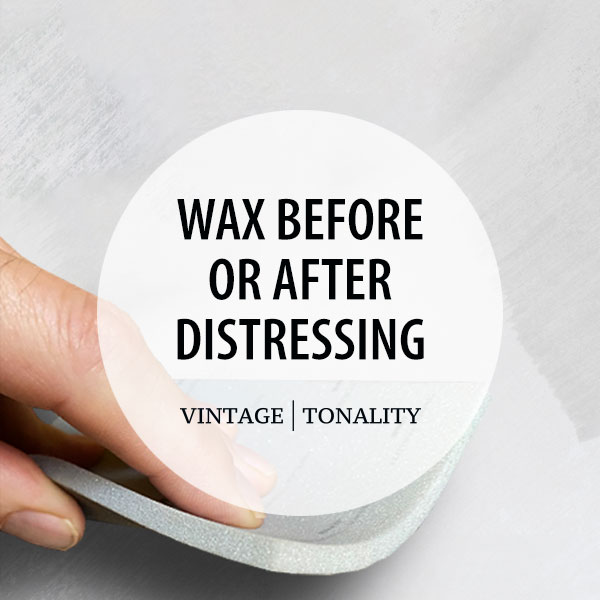
Distress Furniture With Chalk Paint In this comprehensive guide, we'll walk you through the process of distressing furniture with chalk paint, from start to finish.
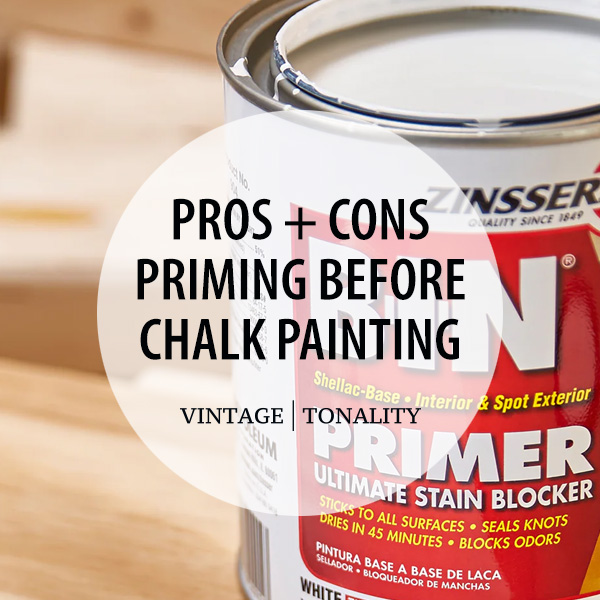
Priming Before Chalk Painting Understanding the pros and cons of priming before chalk painting furniture and understanding bleed-through solutions.

Clean Chalk Paint Brushes How to properly clean chalk paint brushes after each use to maintain their quality and prolong their lifespan.


© 2015 - 2026 Vintage | Tonality® - All rights reserved. Any unauthorized use, such as distributing, copying, modifying, or reprinting, is not permitted.
Site content protected by: Digital Millennium Copyright Act
/ also found at these great locations /


© 2026 All rights reserved. Vintage Tonality® is a registered trademark in the US & UK.
![]()
Vintage | Tonality Brand
AFFILIATES | RESELLERS | AMBASSADORS